A playable serpent on a 3D printer
What is a serpent? Why did I make one?

What is a serpent?
The serpent is a wind instrument which was in use primarily between 1590 and the mid-18th century. It’s sort of like a euphonium if, instead of valves or slides, it had holes like a recorder? It was notorious for being difficult to play in tune due to the holes not really being sufficiently positioned for the harmonics in order to be reachable with your fingers. It was also too quiet to cut through an orchestra, so when orchestras became popular it became less popular.
A personal history
I discovered the serpent in roughly 2009, when I was in high school and an aspiring professional trombonist. A note: I did not become a professional trombonist at any point in time, and abandoned that dream quite early in college. Anyway, I was entranced by the serpent, and I distinctly remember listening to recordings of Douglas Yeo playing one (he was at the time also the bass trombonist for the Boston Symphony Orchestra) - I think on this website https://www.yeodoug.com/serpent.html. I’m pretty sure this was before I had a good enough internet connection to download videos successfully, so probably I only looked at still pictures…
I wanted to make one following these instructions: http://www.serpentwebsite.com/SQPT_concept.htm. However, as a senior in high school (after the person I was dating my junior year and I broke up) I did not have access to a wood shop, so it didn’t happen.
Here in the present day, where I attempt to recreate history which is a bit further in the past than 14 years, my girlfriend has been learning to play the cornetto, a similar instrument, like a trumpet with recorder holes. A leather wrapped resin cornetto is under $600 from Early Music Shop, which is where she got hers, but a serpent is somewhere north of $3000 once you get the bocal, an extra $500 if you want your resin wrapped in leather: https://earlymusicshop.com/collections/all/products/serpent-in-c-by-early-music-shop, which is fair for how niche it is, but still not currently something I’m that committed to learning that I want to spend that much.
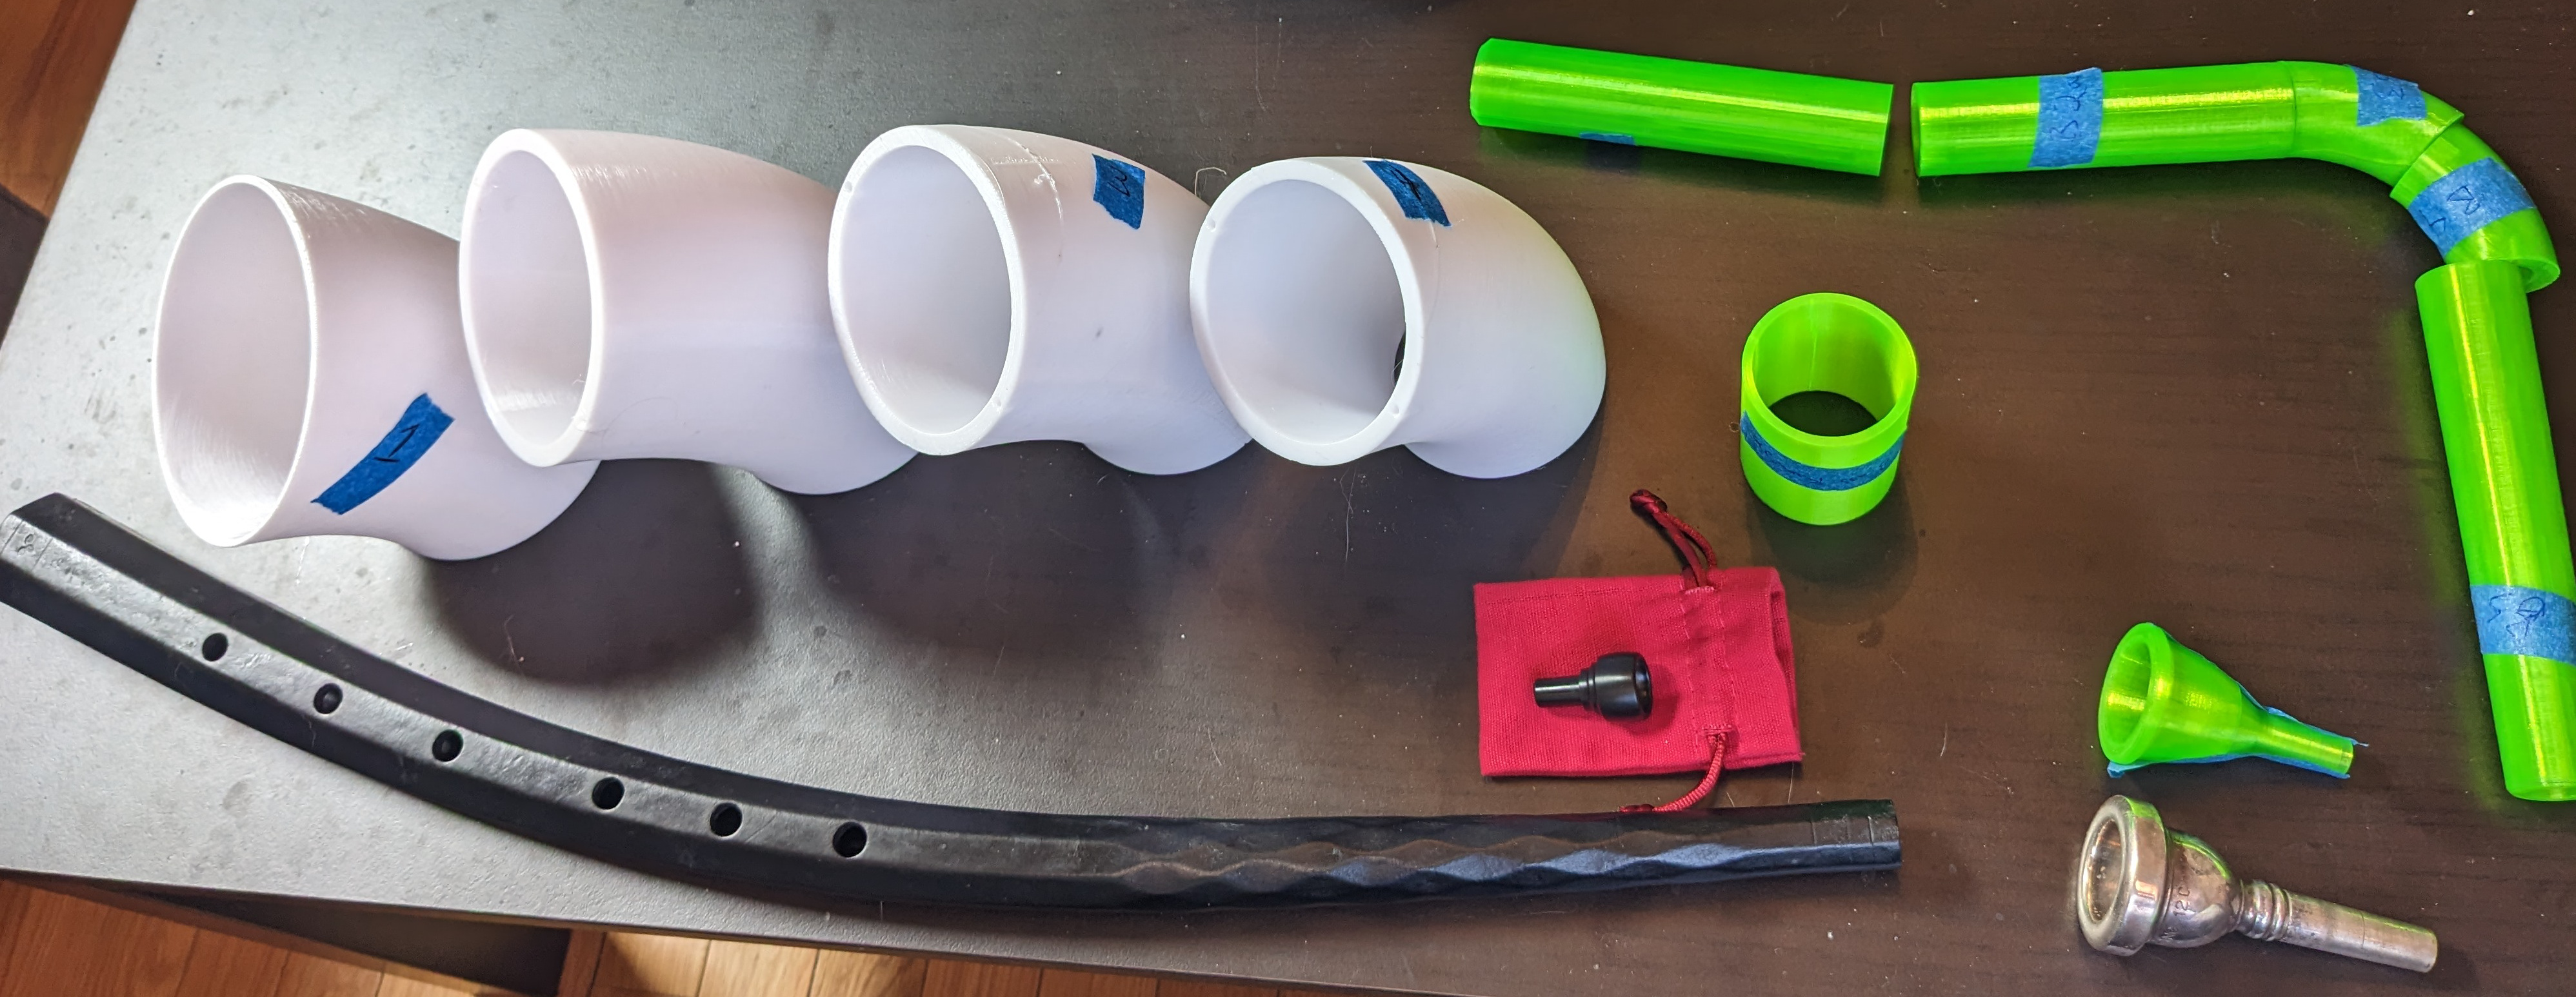
Conveniently, I am also a member of my local hackerspace, Denhac, which does have a wood shop. When I visited The Serpent Website in 2023, I found that in 2020-2021 a contributor to the website in the UK had measured extant serpents from the Bate Collection, in Oxford, and created a 3D model, from which STL files were created. These files are available only by email request, which I immediately did. When you email, you are asked about your interest in serpents, musical training, asked to not sell creations based on the files, and so on. Then they send you a link to a non-indexed page on the site containing the information and zipped files. The files are based on two serpents, an earlier “Anon” serpent which is not tuned to a modern pitch, and a modern-tuned “Dittes” serpent in C; adjustable and fixed bocals for both; and two mouthpieces, a historical “acorn” mouthpiece and a “beehive” mouthpiece which has a more modern shape and a timbre which cuts through other instruments in an orchestra better when played. I believe the Dittes serpent was technically built outside of the SCA period but that is the one I printed a copy of, since I want to be able to play it with other instruments in modern A440ish tunings. I used the latest version, v5, of the files.
Printing the parts
I received training on the 3D printers at Denhac on February 14, 2023, and started my first print then. We have Prusa MK3S printers there, and I was able to use Prusa Slicer to fit several parts in one print. I used the recommended settings in the instructional PDF, and printed in the following groupings, as the pieces get smaller as the diameter narrows: 1-4 (in white - someone else was using the black spool when I did my training) 5-11, 12-20, 21-23 and the “beehive” mouthpiece, and the 5 adjustable bocal parts, decorative “brass ring”, and “acorn” mouthpiece in translucent green. Each piece was labeled as it came off the plate - they’re easy to mix up! The longest prints took about 3 days each. All pieces were completed on February 21, because we have three printers and I was able to use 2 of them at a time if I started prints early in the morning when they weren’t already in use. I think it was about a week and a half of print time.

Materials
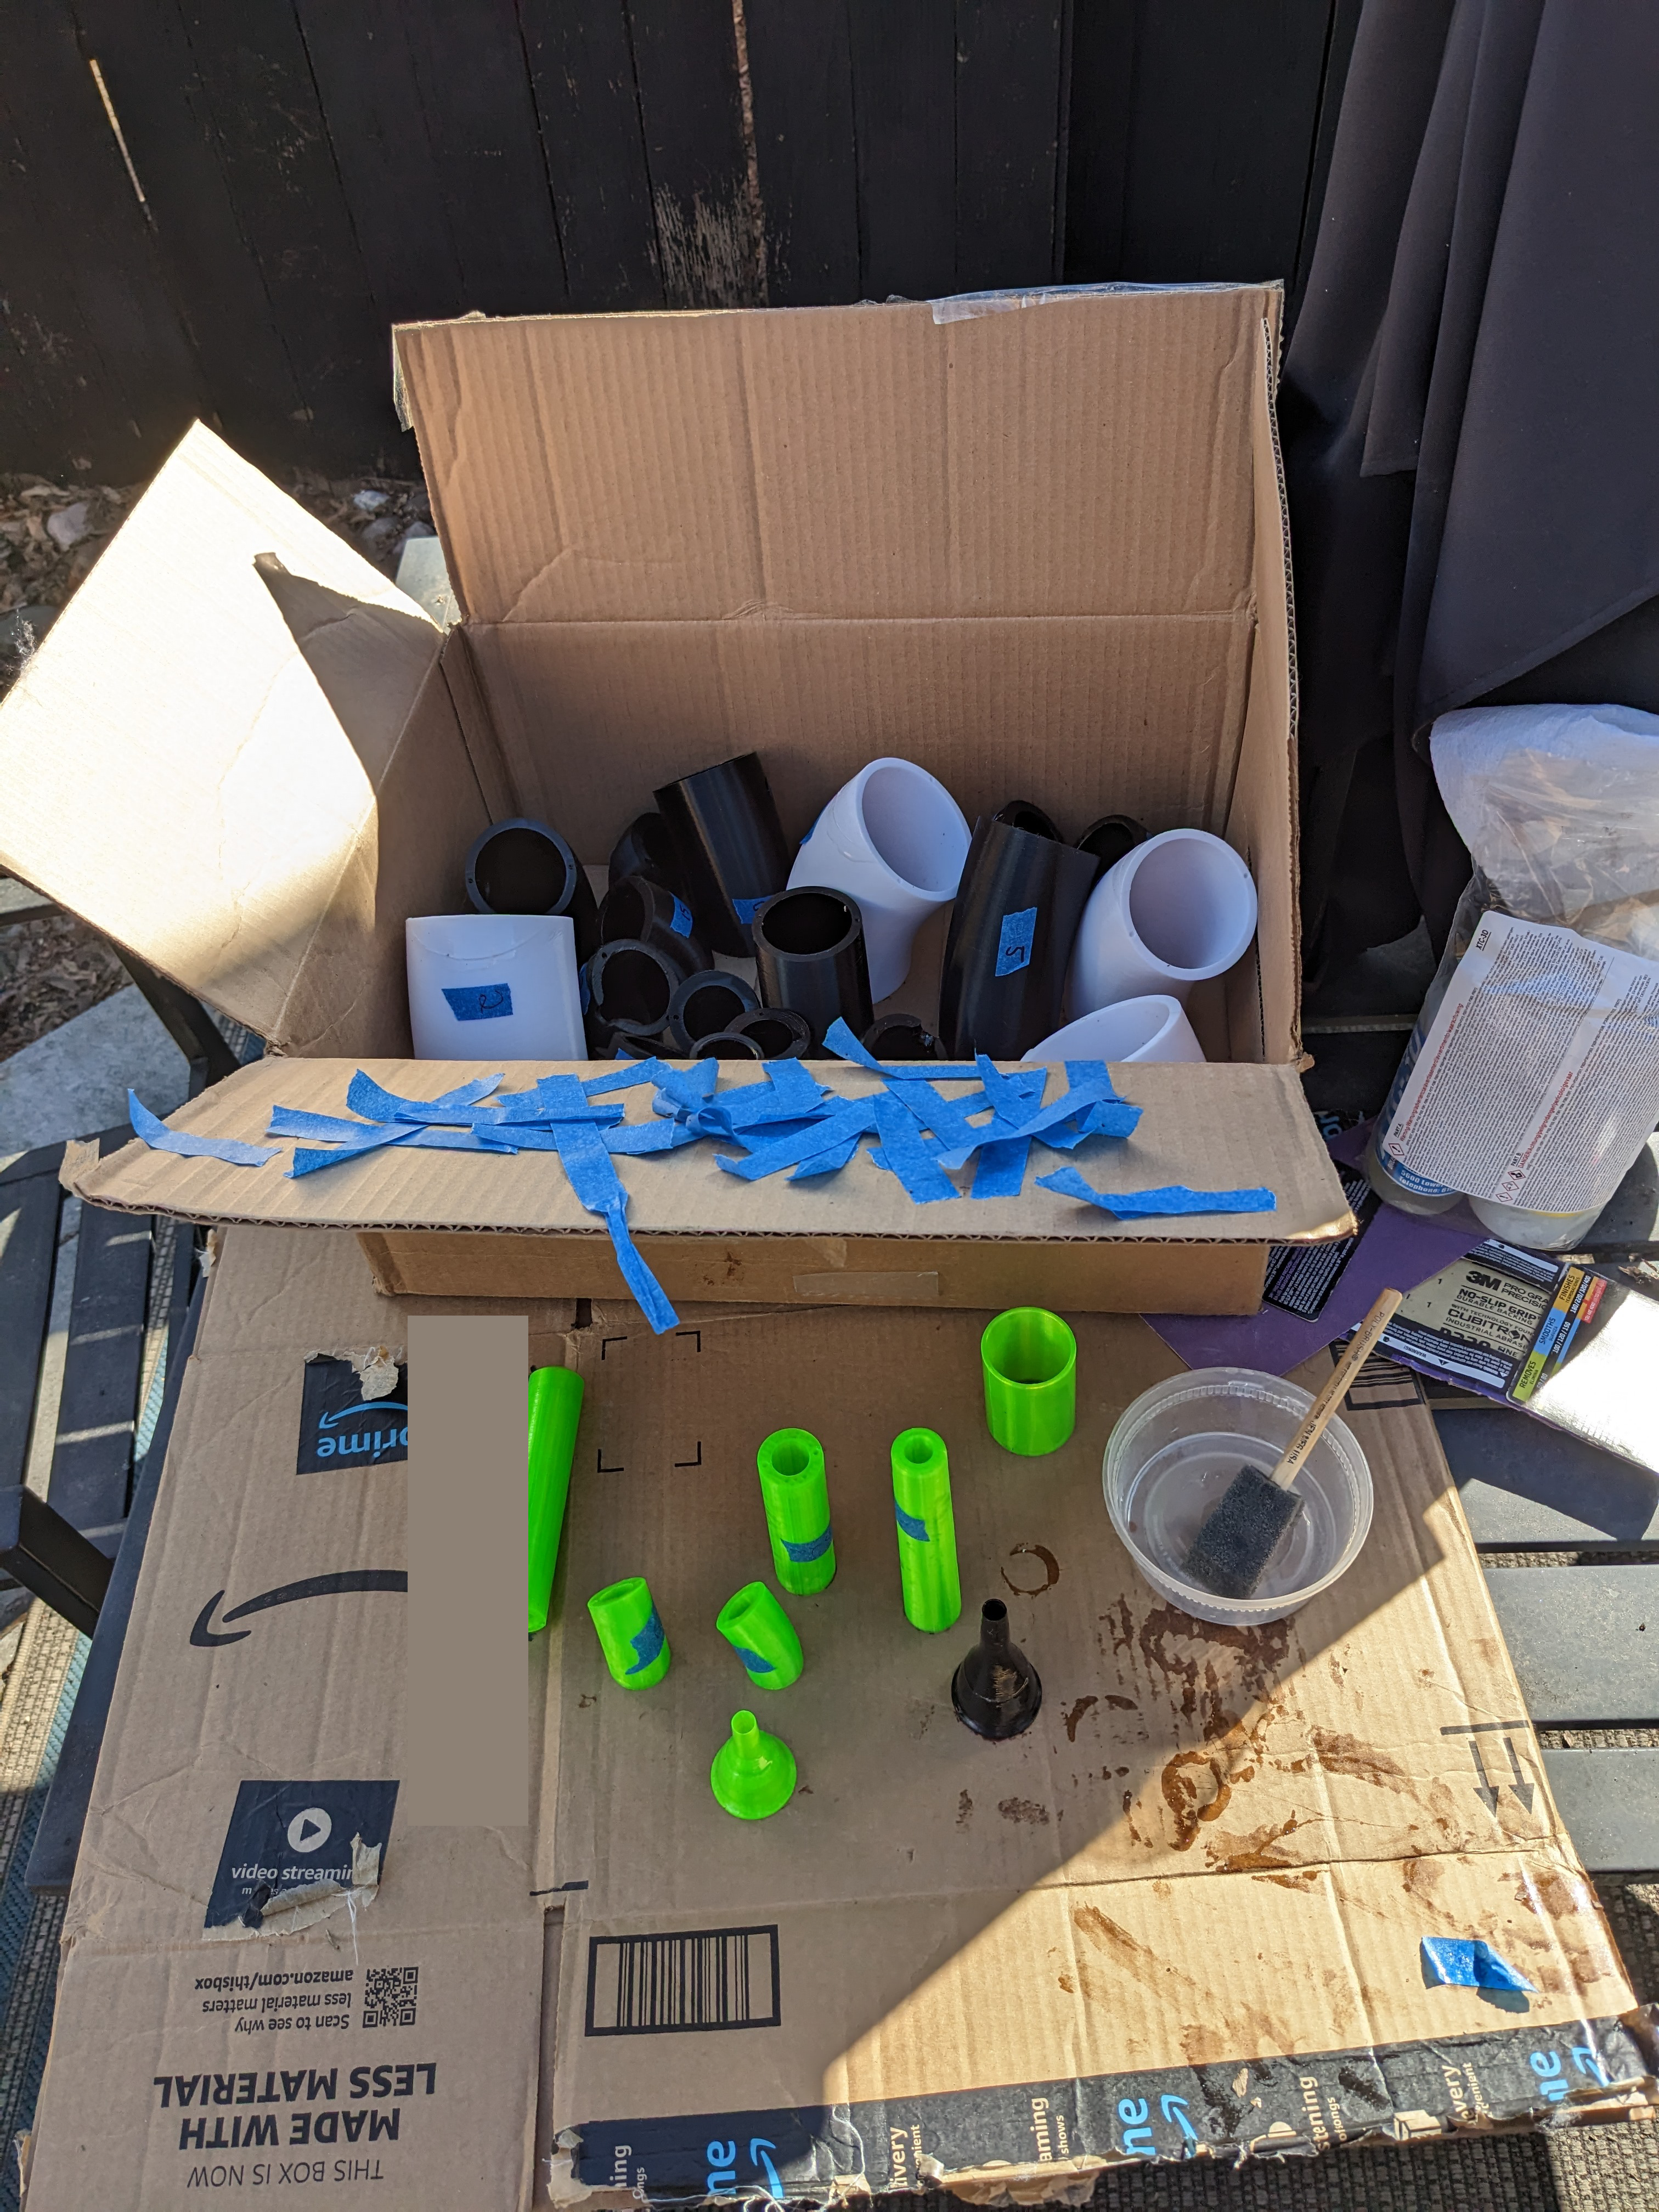
All prints were of PET-G, in hopes of a less fragile instrument than PLA. I bought an additional four spools PET-G, since I expected some misprints, but all the prints worked on the first try! I think all together it took about two spools of filament to print, as stated in the detailed instructions - I have two unopened spools left, but I used some of the hackerspace shared filament as well and just shared the half a spool that was used on the last print back to the space. I used Nova Maker filament, available on Amazon for around $20 a spool. I also purchased some XTC-3D epoxy sealer for 3D prints, to paint the insides and ensure there were no minute gaps in each piece(I got a 24oz pack but used only about 2oz total on all the insides, so a smaller one would’ve been fine), and some Weld-On number 16 for acrylic signs, to glue the parts together. So my total costs in materials was around $60 - though I bought more than needed of everything so I actually spent $150ish. I’m not counting the monthly hackerspace membership as a cost, or the hours of my time, of course.

Sealing and gluing the parts
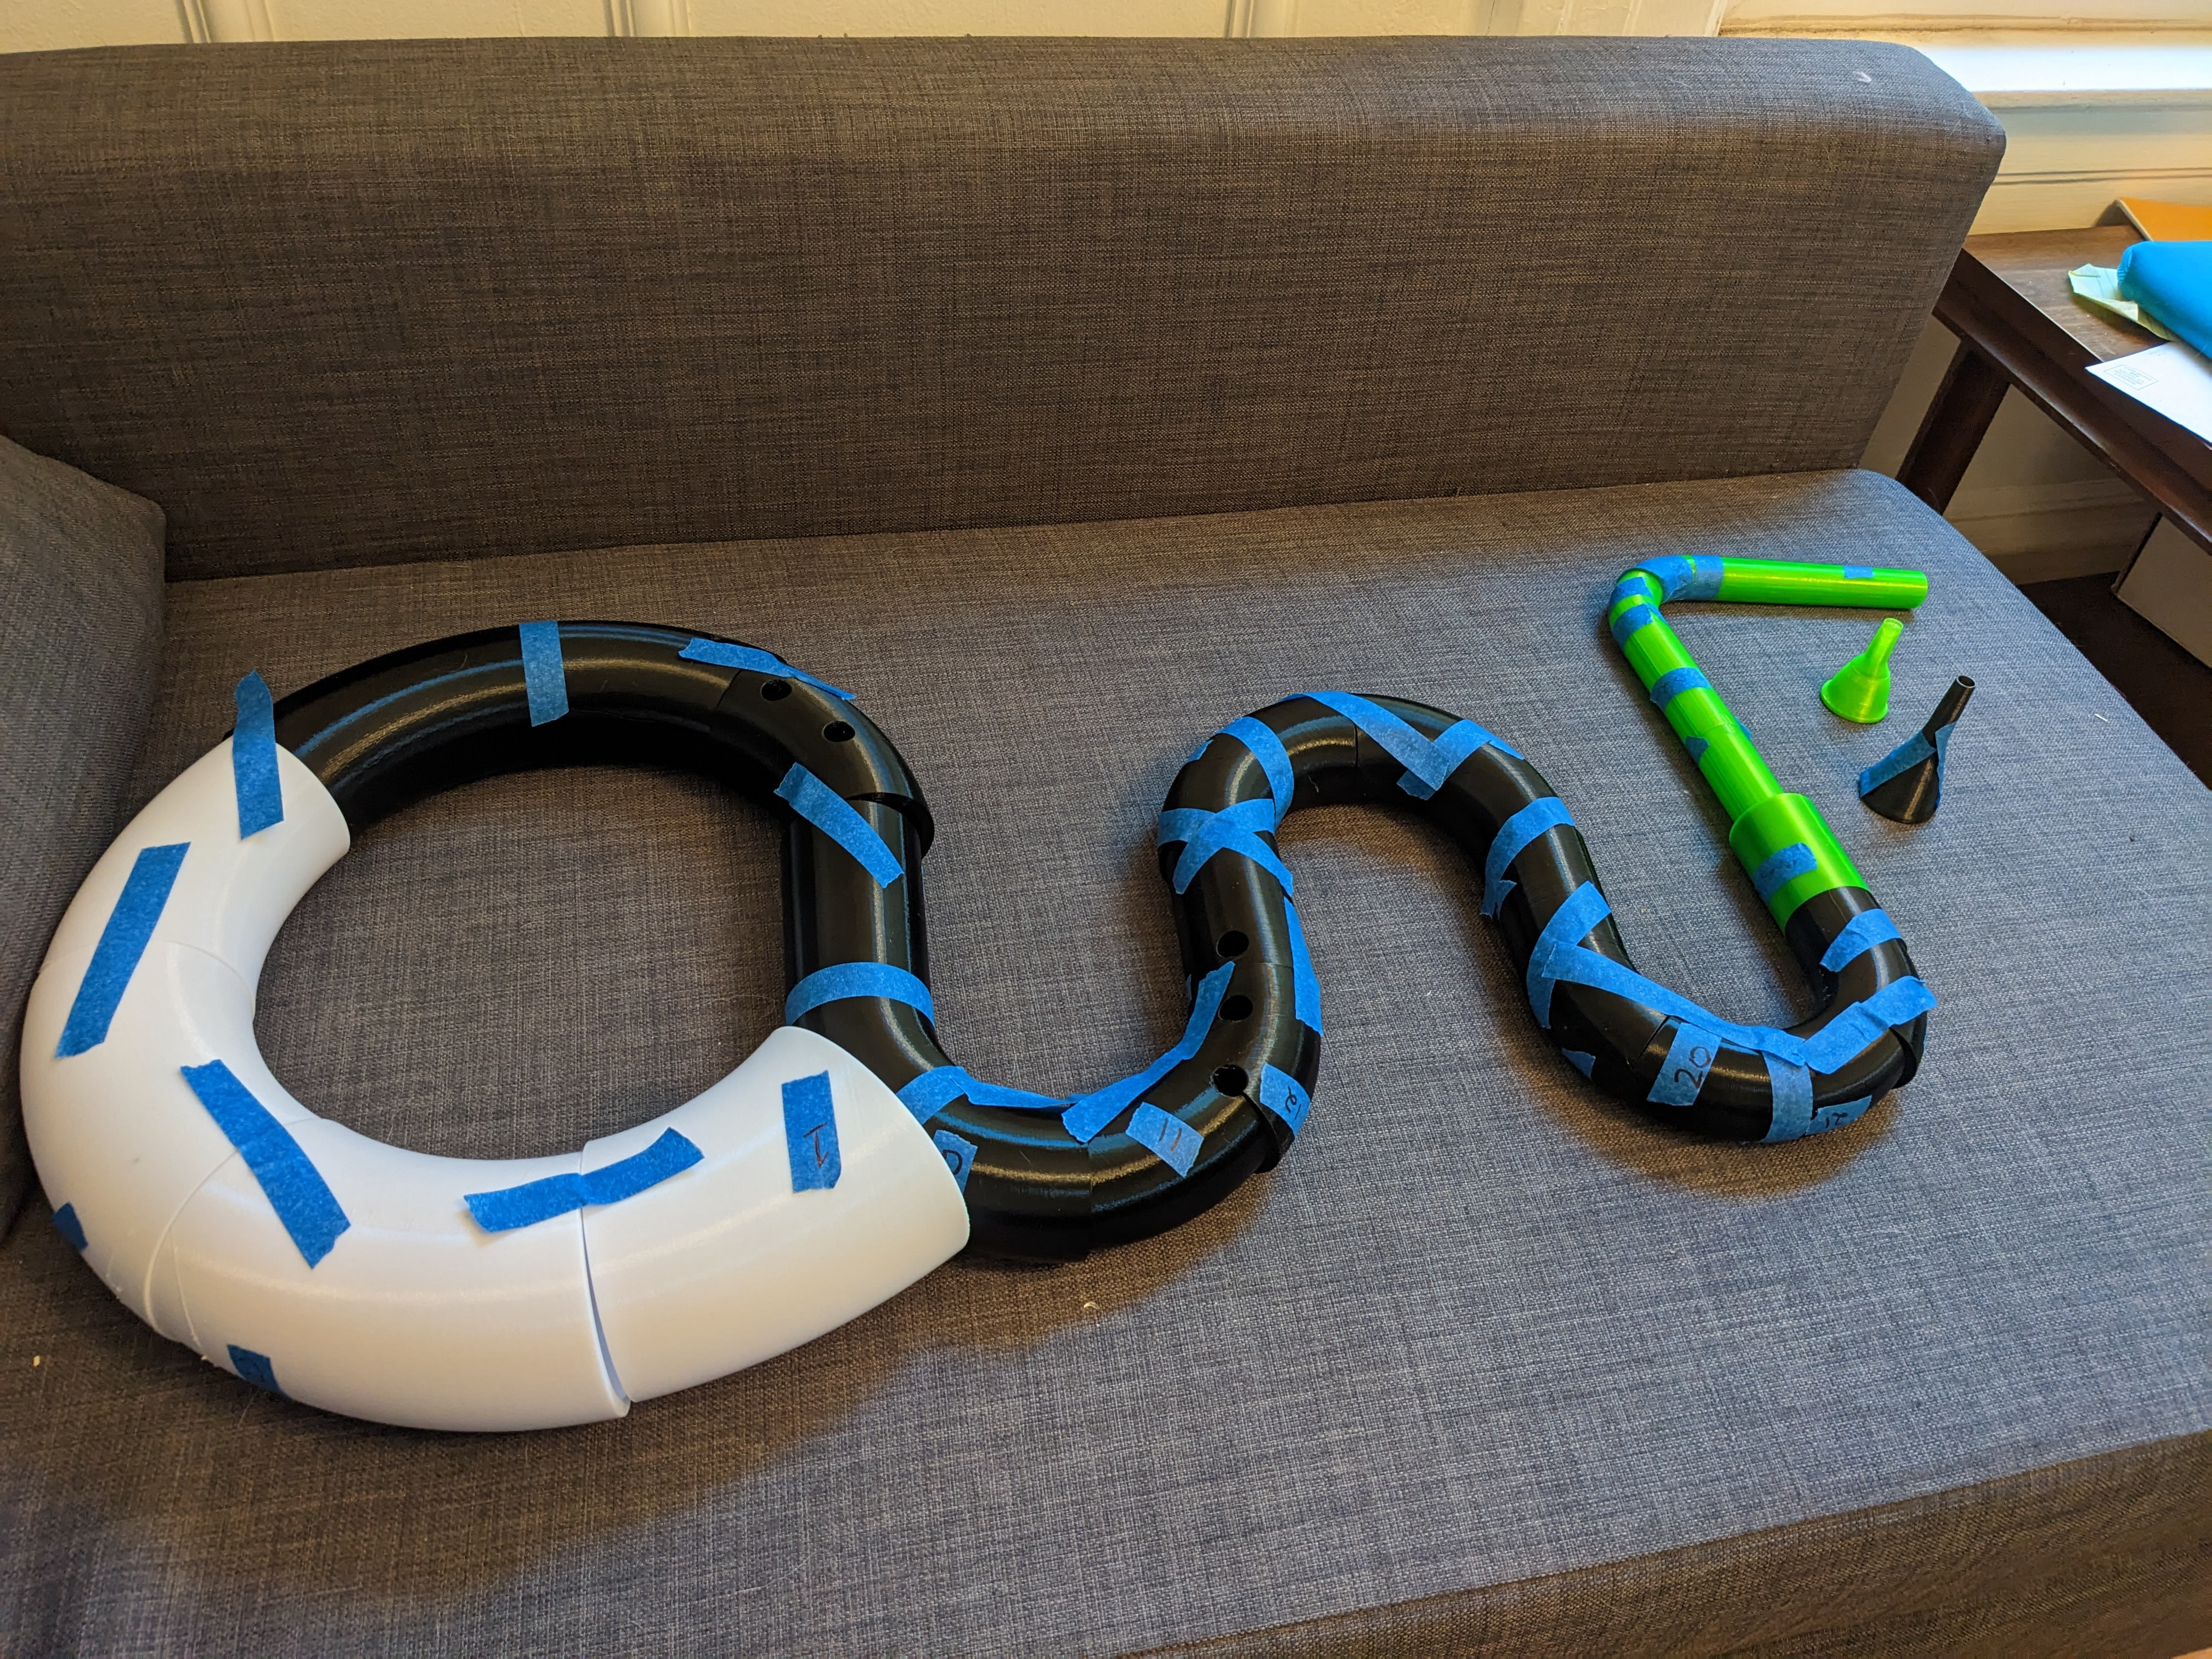
I painted the inside of each part with sealer, outside in my backyard for ventilation purposes, and waited 24 hours to dry. I then sanded the flat planes where the pieces joined with 220 grit sandpaper, and glued the pieces together, using small amounts of filament in two guide holes per seam to align them properly. The instructions didn’t specify the assembly order - I tended to glue pieces in pairs, then attach the glued pairs to the main body. I was warned that the guide holes were incorrectly centered on a few pieces - and despite that, I did glue the first of these pieces upside down in such a way that I could only align one of the holes when putting the next segment in place, and as a result there is a slight bow in my serpent as compared to it being centered on a flat plane.
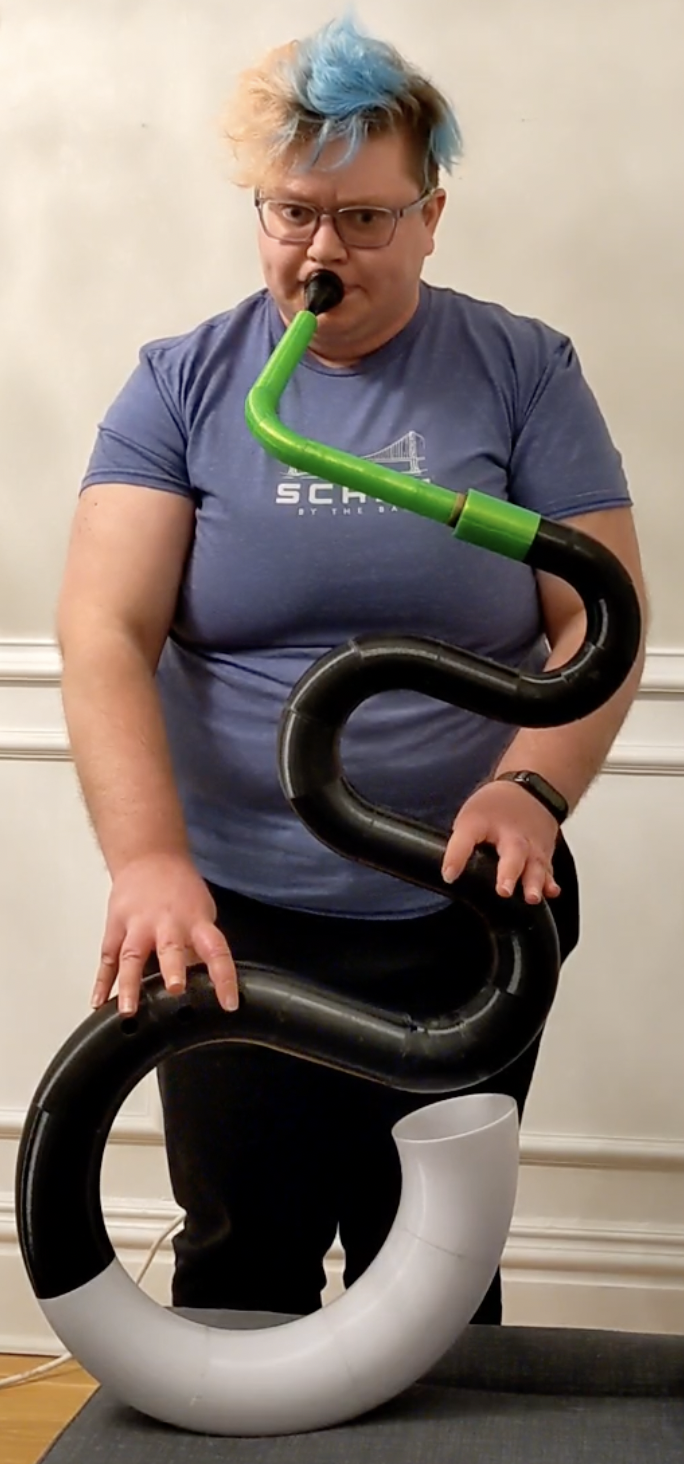
After all pieces were glued and set for 24 hours, which took a few days as I also did my gluing outside, in the one hour of daylight remaining after my day job was completed, I wrapped some waxed thread around the bocal end in order to seal it, inserted the bocal and mouthpiece, and tried to play. By then it was March 10. It worked without major leakages or too many tuning disparities, but the thread was wrapped in the wrong place and so it was about 50 cents flat. In readjusting the waxed thread to play in tune, I inadvertently pushed the bocal with too much force in order to see how deep it would go when wrapped in thread, and it snapped on a recently glued joint and needed to be re-glued.

Playing the serpent
This video was taken on March 11. As you can hear, tuning is a bit of a struggle still for me - I’m out of practice on modern wind instruments at this point, much less a historical one I’ve never played before. Link to video
One oddity I’ve noticed is that the low B flat and high B flat in the scale are not perfectly in tune relative to each other by default, I have to adjust my lip to tune it into place. I am not sure why this is or if this is expected.
Next steps
- Figure out how to play the serpent when standing without resting it on a chair in front of me
- Learn the fingerings for more than a few notes
- Print a half sized instrument one octave higher
- Seal the outside of this instrument with epoxy and then paint the whole body of it matte black (PET-G doesn’t take spray paint as well as PLA, hence the sealer)
- Practice some repertoire for cornetto and serpent