Kumihimo, second week
Last week, I ordered a 32-slot kumihimo disk, 16 bobbins, and a 50-color embroidery floss kit from Amazon. “Maybe I’ll do some 16-strand braids,” I thought to myself, in complete denial of my personality and approach to projects. “I probably don’t need the 64-slot disk, because I don’t even know if I like the 32 slot one yet. 16 bobbins should probably be enough for 16 strands, and I’ll invest in more weaving materials on a per-project basis.”
I ordered this on Sunday. On Monday and Tuesday, I worked on other small braids on the train, to keep my hands busy.
Stretchy and sticky fibers
I found that the sock yarn (75% wool, 25% nylon, I think) was much more slippery against my cardboard disk and against itself. It felt warm in my hands after a while, and it was easy to untangle the loose ends (this was before the bobbins I ordered came in, so loose ends were just hanging) because it didn’t stick much to itself.
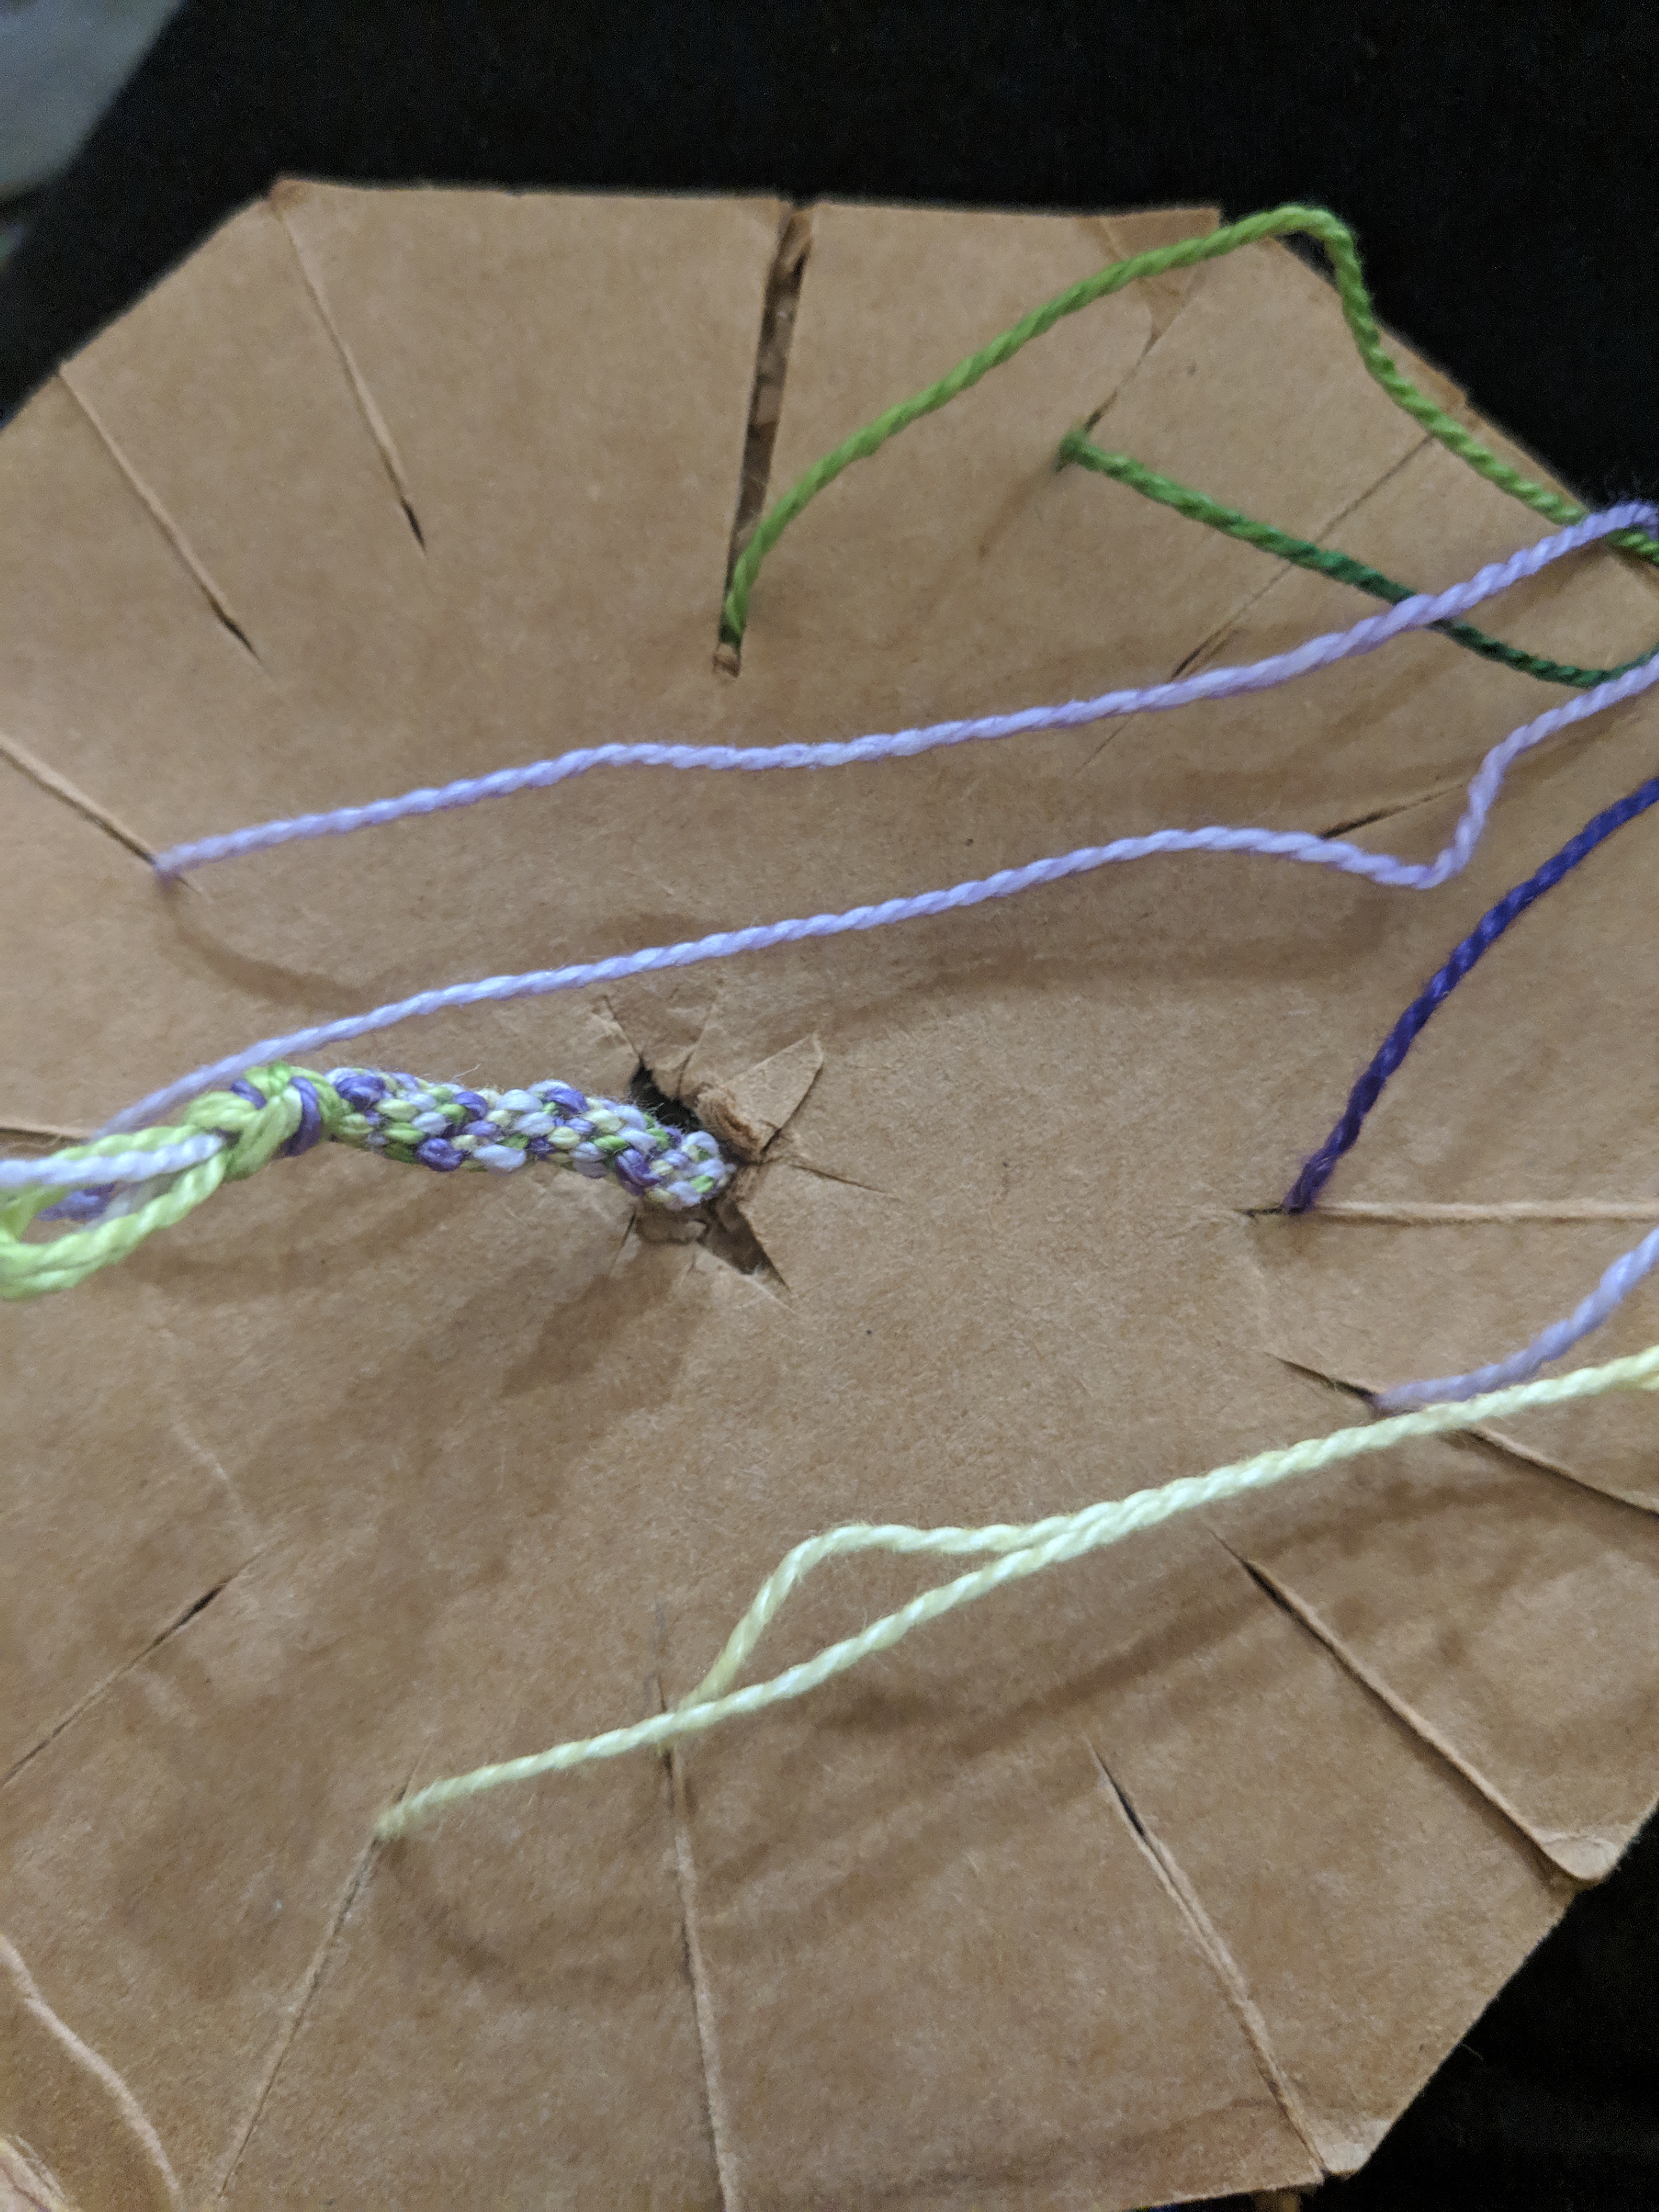
A Facebook friend mentioned that she’d been taught that kumihimo braids stretch once they’re woven, which surprised me as it hadn’t been my experience working with the wool/nylon thread - the braid made with sock yarn was kind of stretchy regardless, because the sock yarn was stretchy and I was pulling on it all the time to get the tension on the cardboard disk. But the braids I started this week with cotton embroidery floss fibers did in fact start out short, and became noticeably longer once I pulled (gently) on the knotted end.
Before being stretched:
After being stretched:
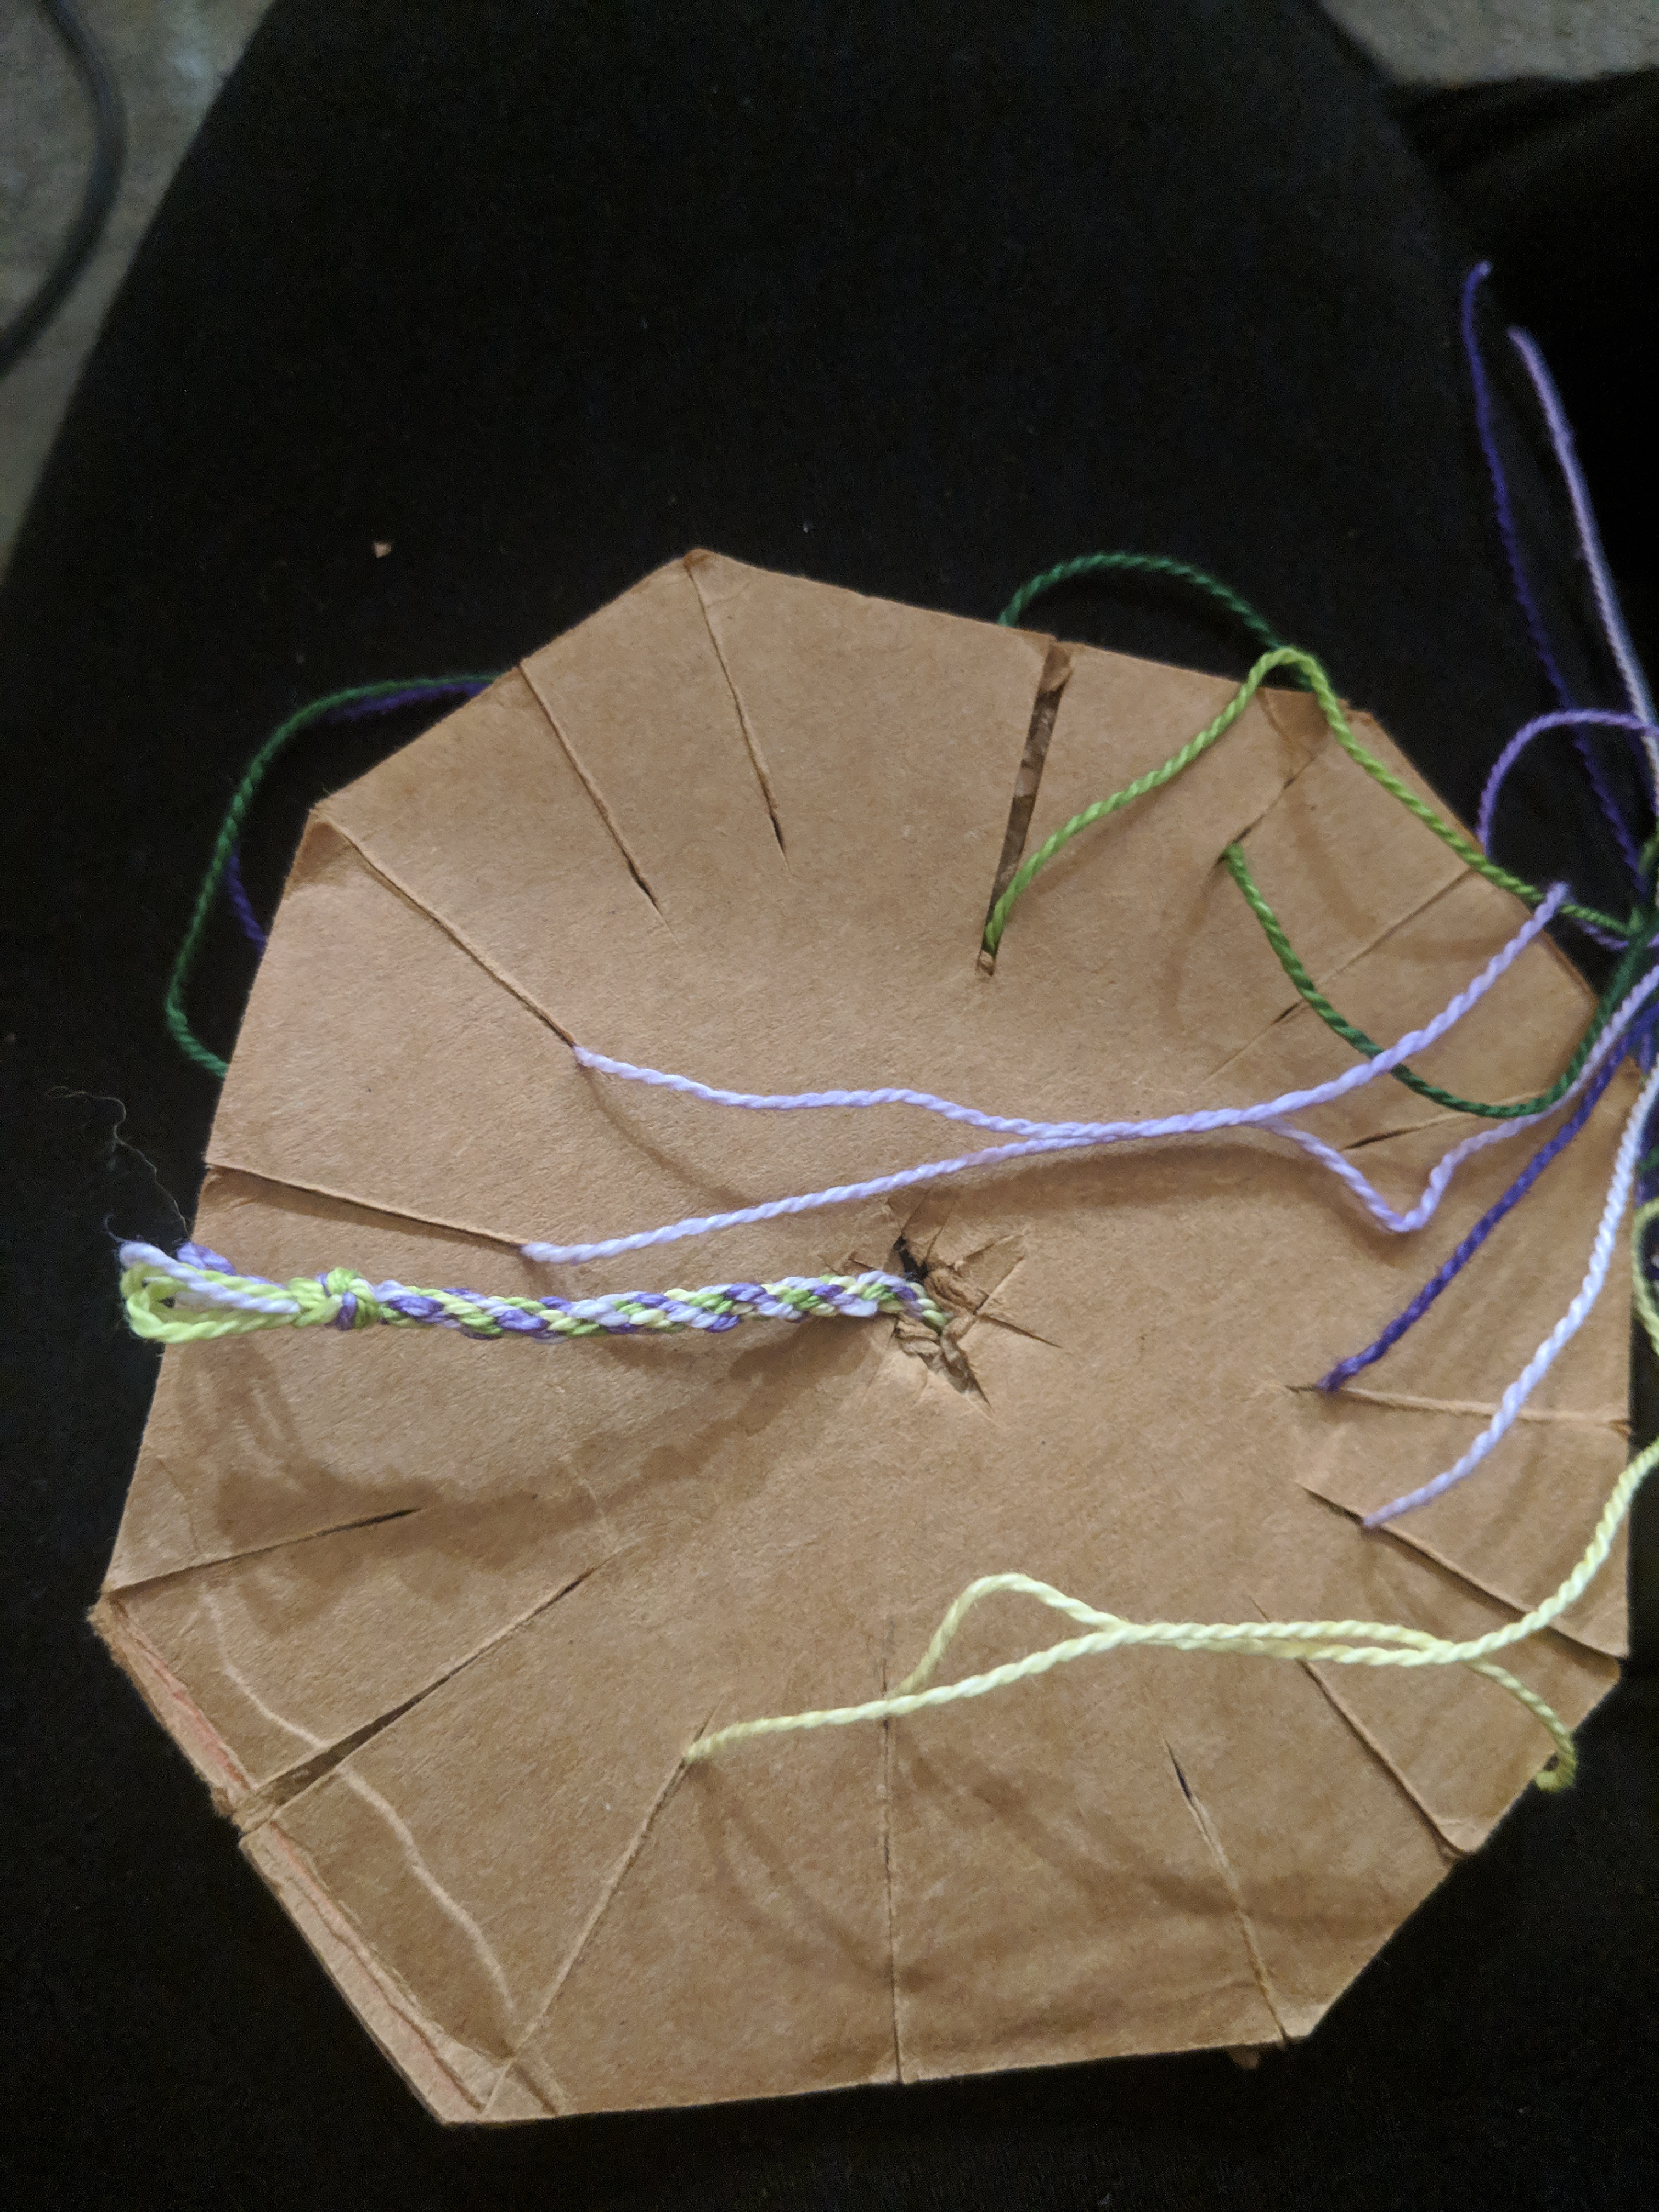
It’s nearly twice as long after being stretched, and spirals at a different angle!
Can you tell the point on this braid where I last pulled on the braid to stretch it?
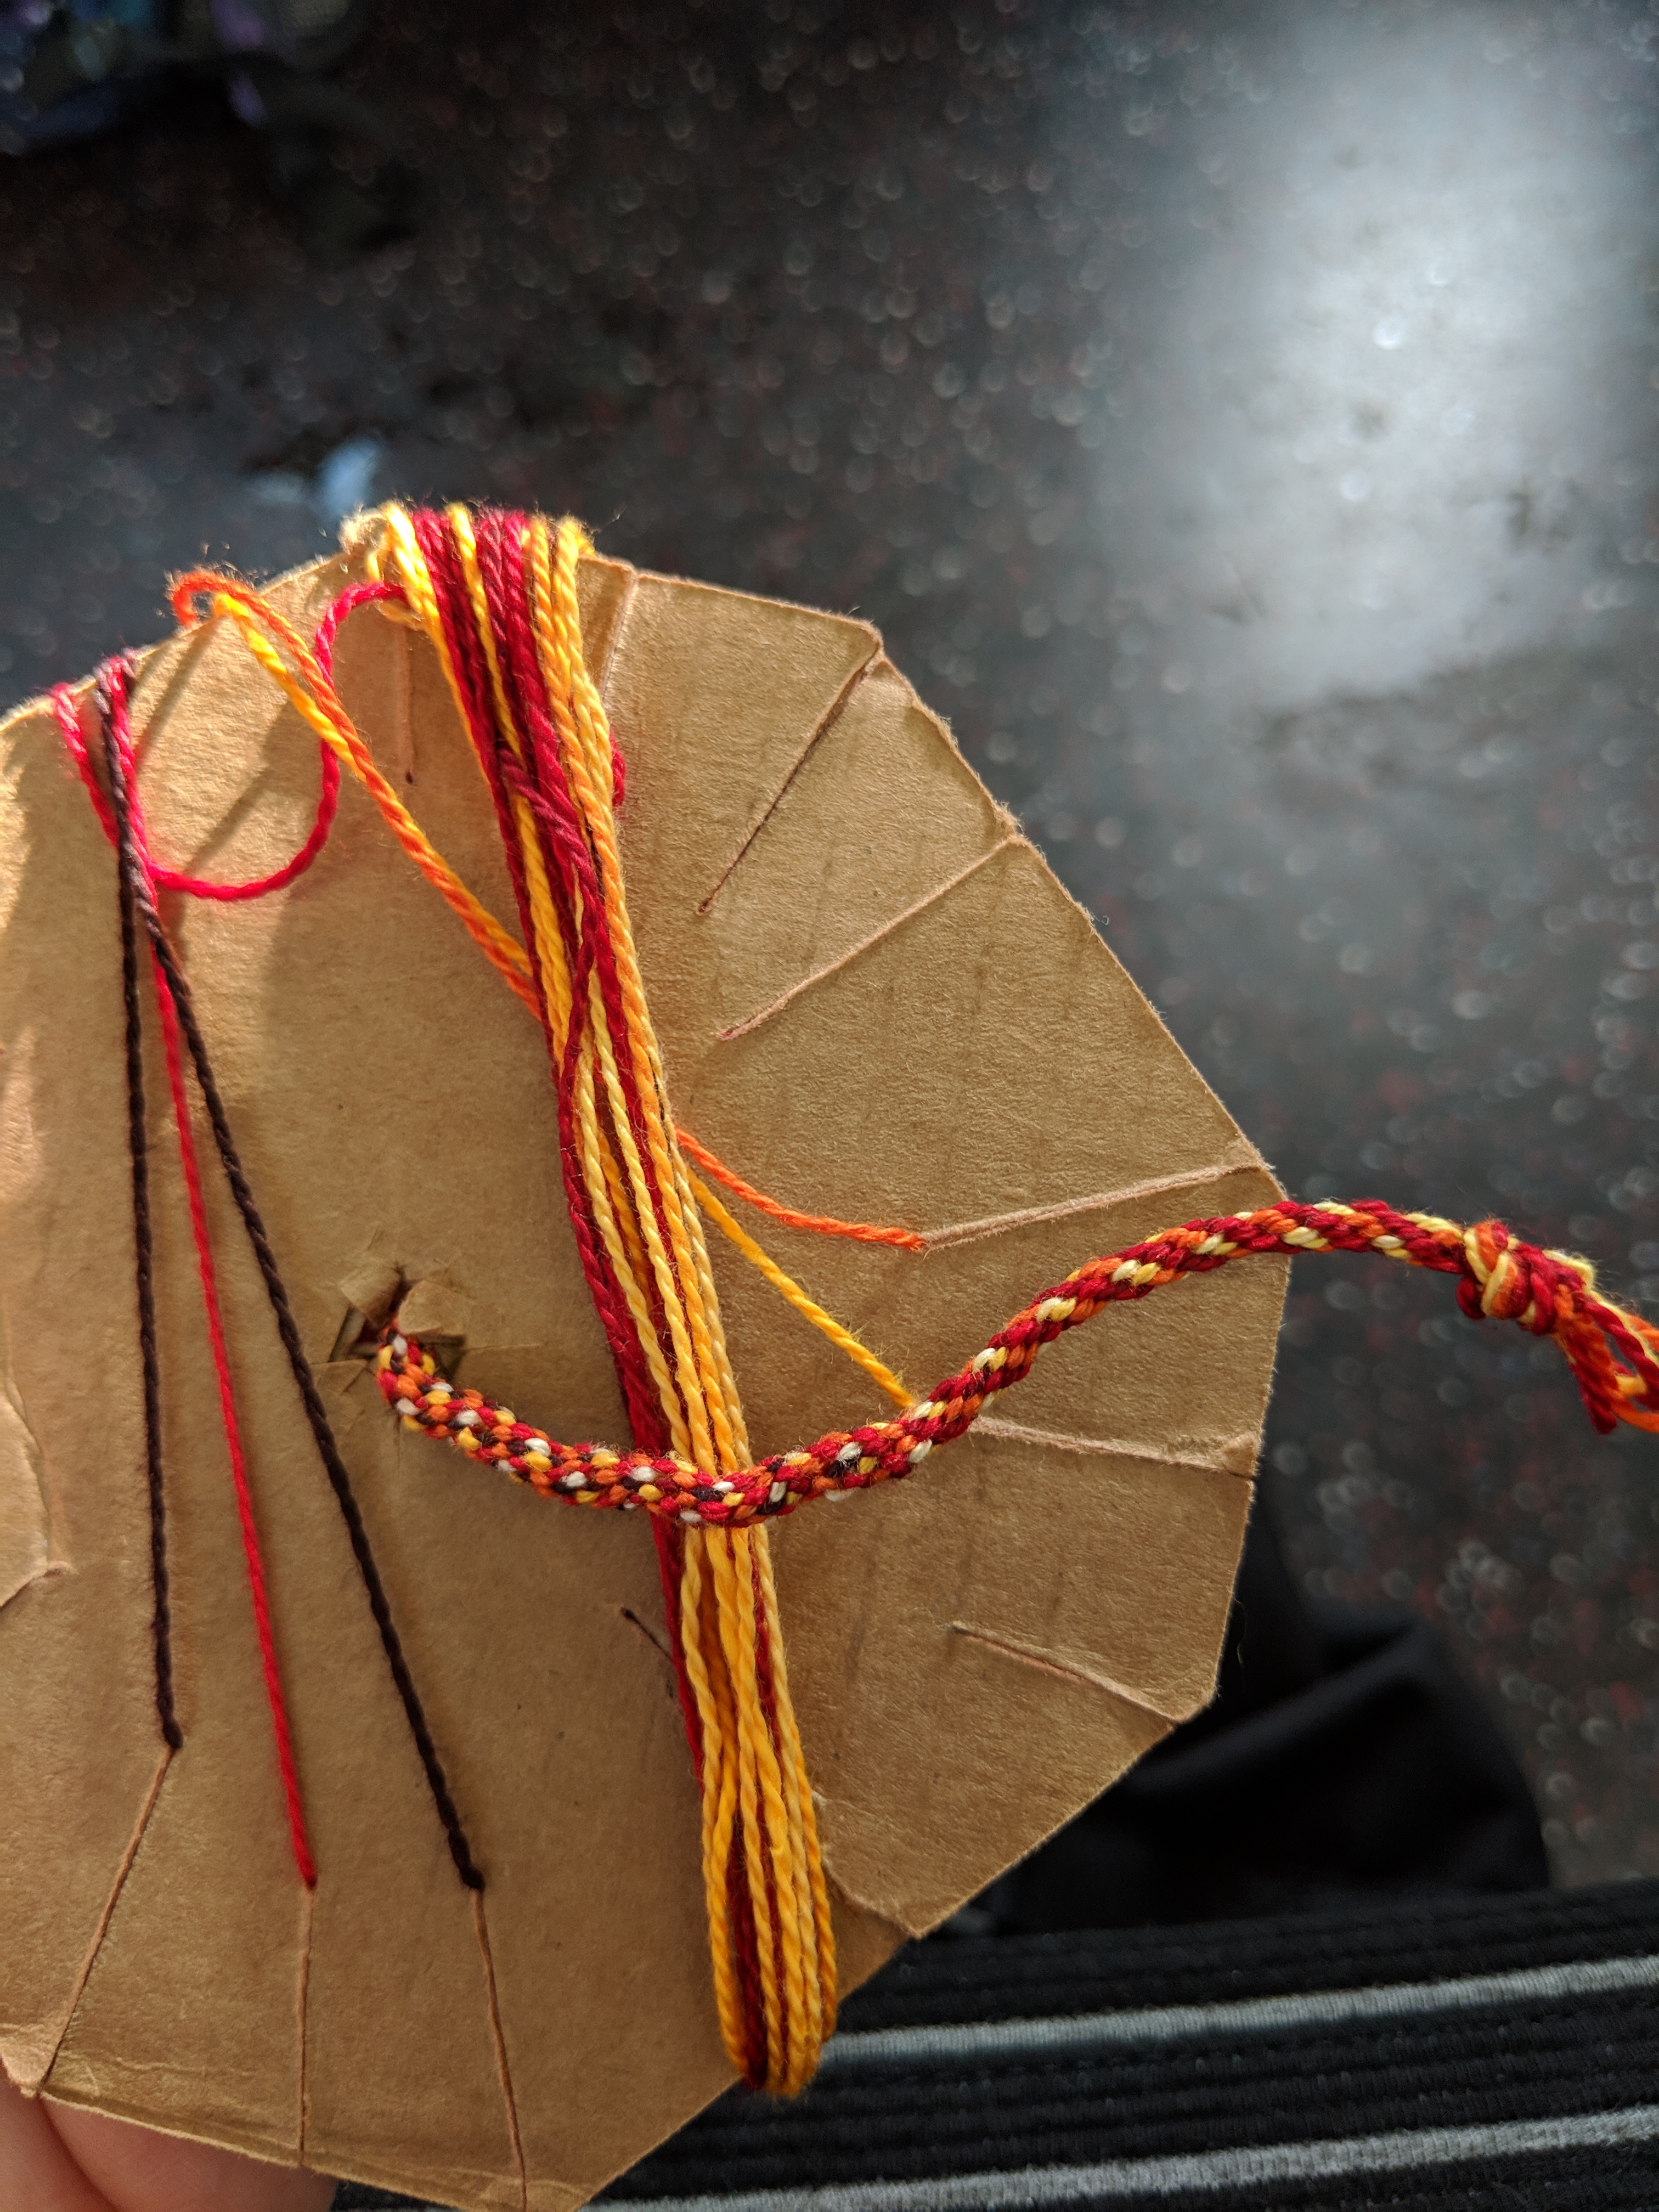
New foam disk!
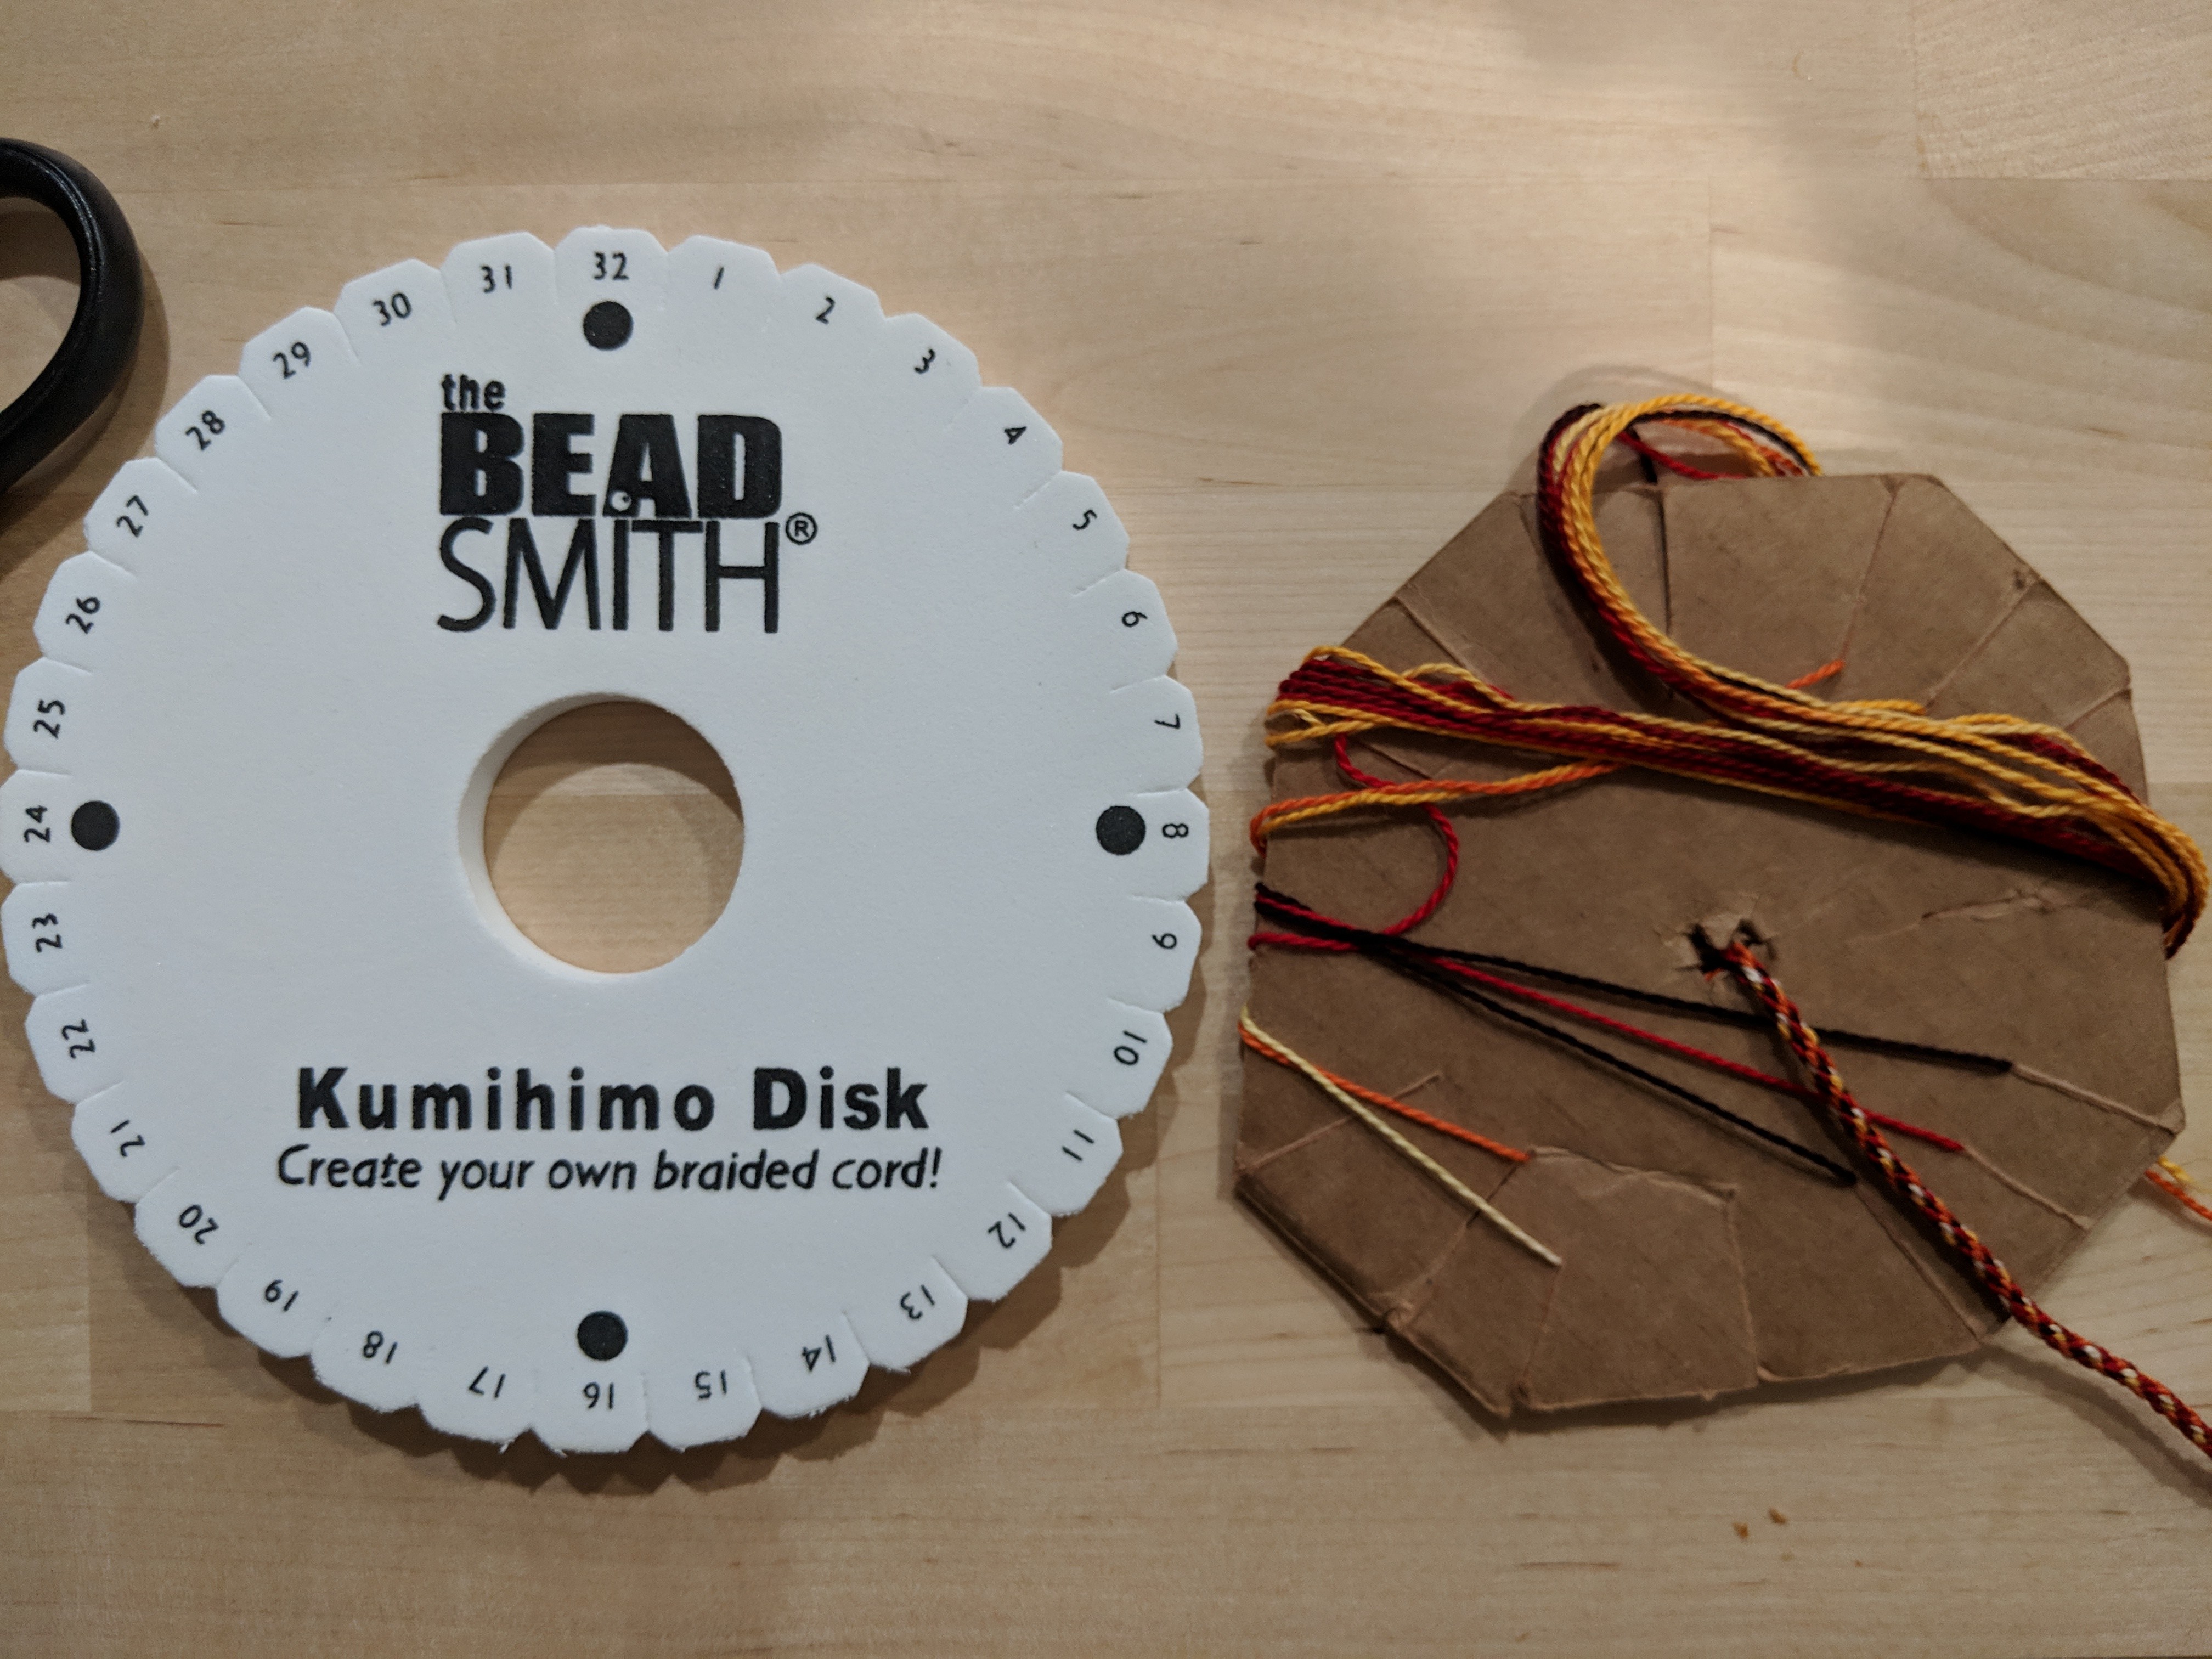
My foam disk and embroidery floss came in the mail on Wednesday. The first thing I noticed is that it’s too big to fit in my pocket. A size comparison of the cardboard disk I made and the foam disk:
Kumihimo patterns
I only knew how to make an 8 strand braid, so I googled additional resources on how to scale it. I found this source to be particularly useful, as it shows how to set up a 32 slot disk for up to 28 strands of weaving: Spiral Braids with 12 to 28 strands.
I also found some sample patterns with pictures on how to set up colors on a disk initially to end up with different patterns on the woven strand.
I was turning my disk clockwise for 8 strand braids, but most of the patterns involve turning counterclockwise, and in fact when weaving a 28 strand braid the slots only open up to allow for counterclockwise motion. It’s not too big a change though.
Then I found a pattern maker, and I was hooked.
My own patterns
Can I make a kumihimo pattern that incorporates my heraldic device?
My heraldic device is, I would say, moderately complicated:

So that means I need lots of threads to duplicate it!
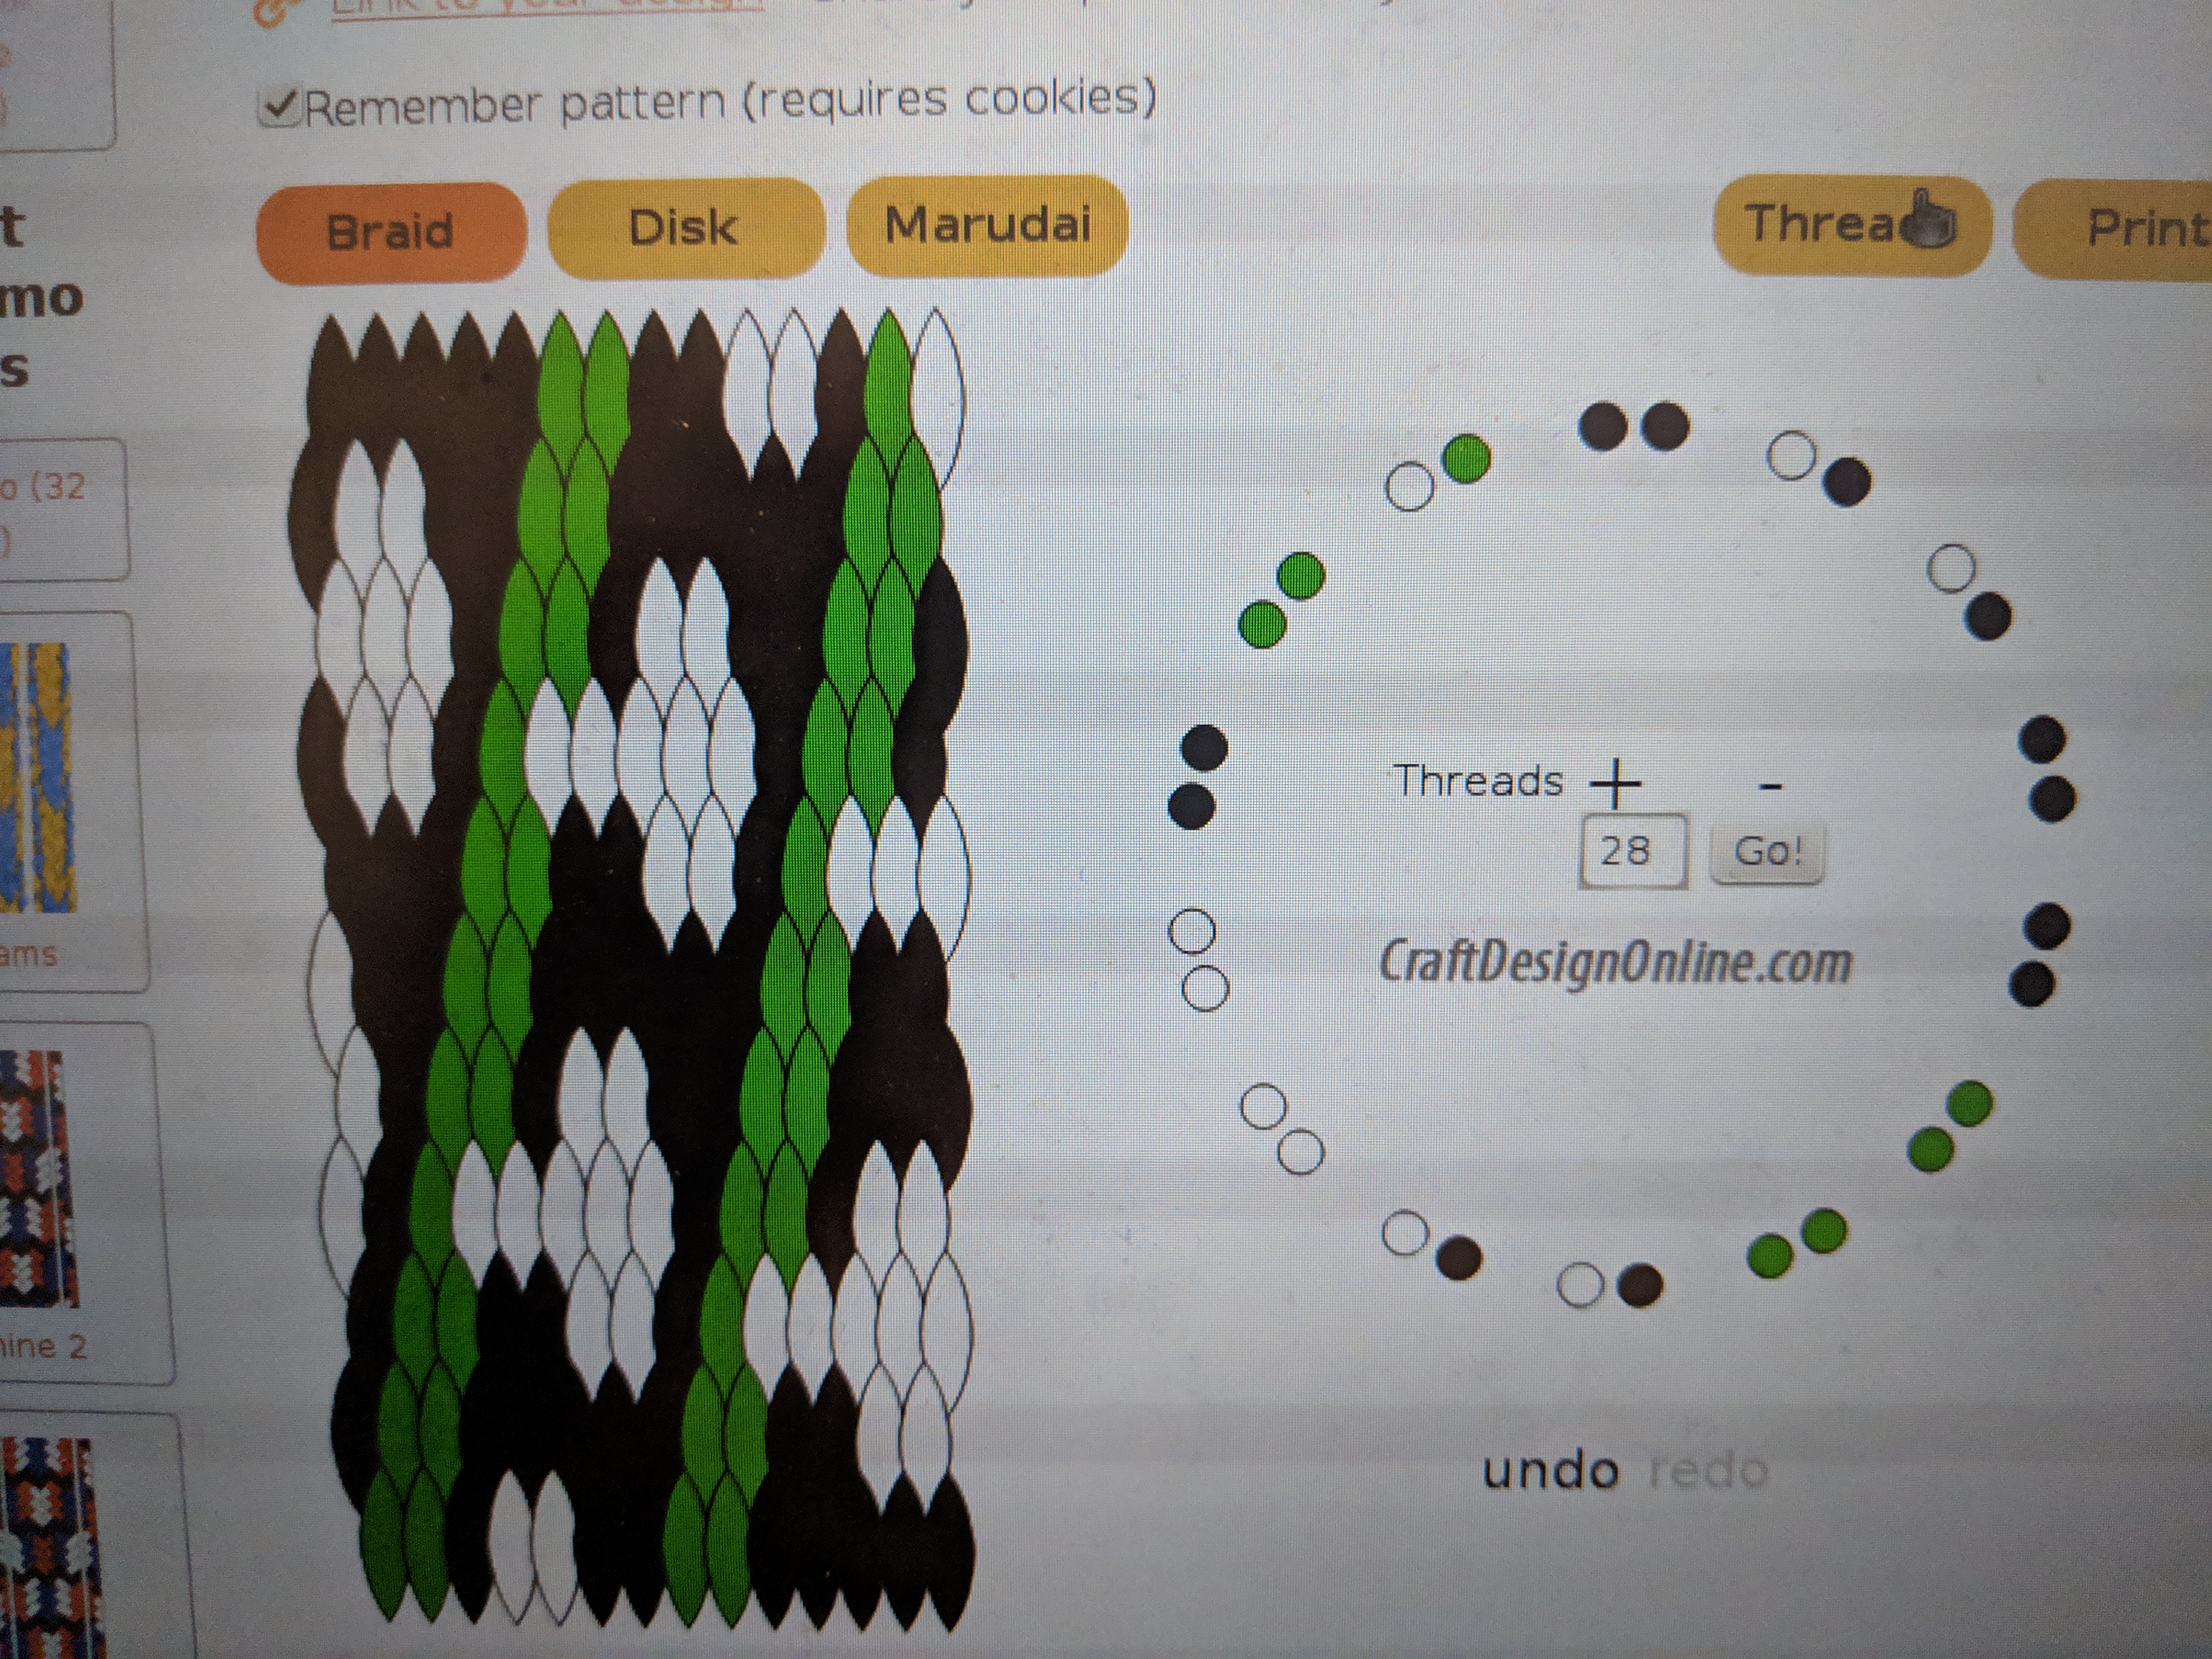
As you can see, I gave up on including both tree and comet in this very low resolution pixel art.
It took a couple hours to cut small test strips of 28 colors and thread them onto the disk. In my defense, it was after work, and I was tired.
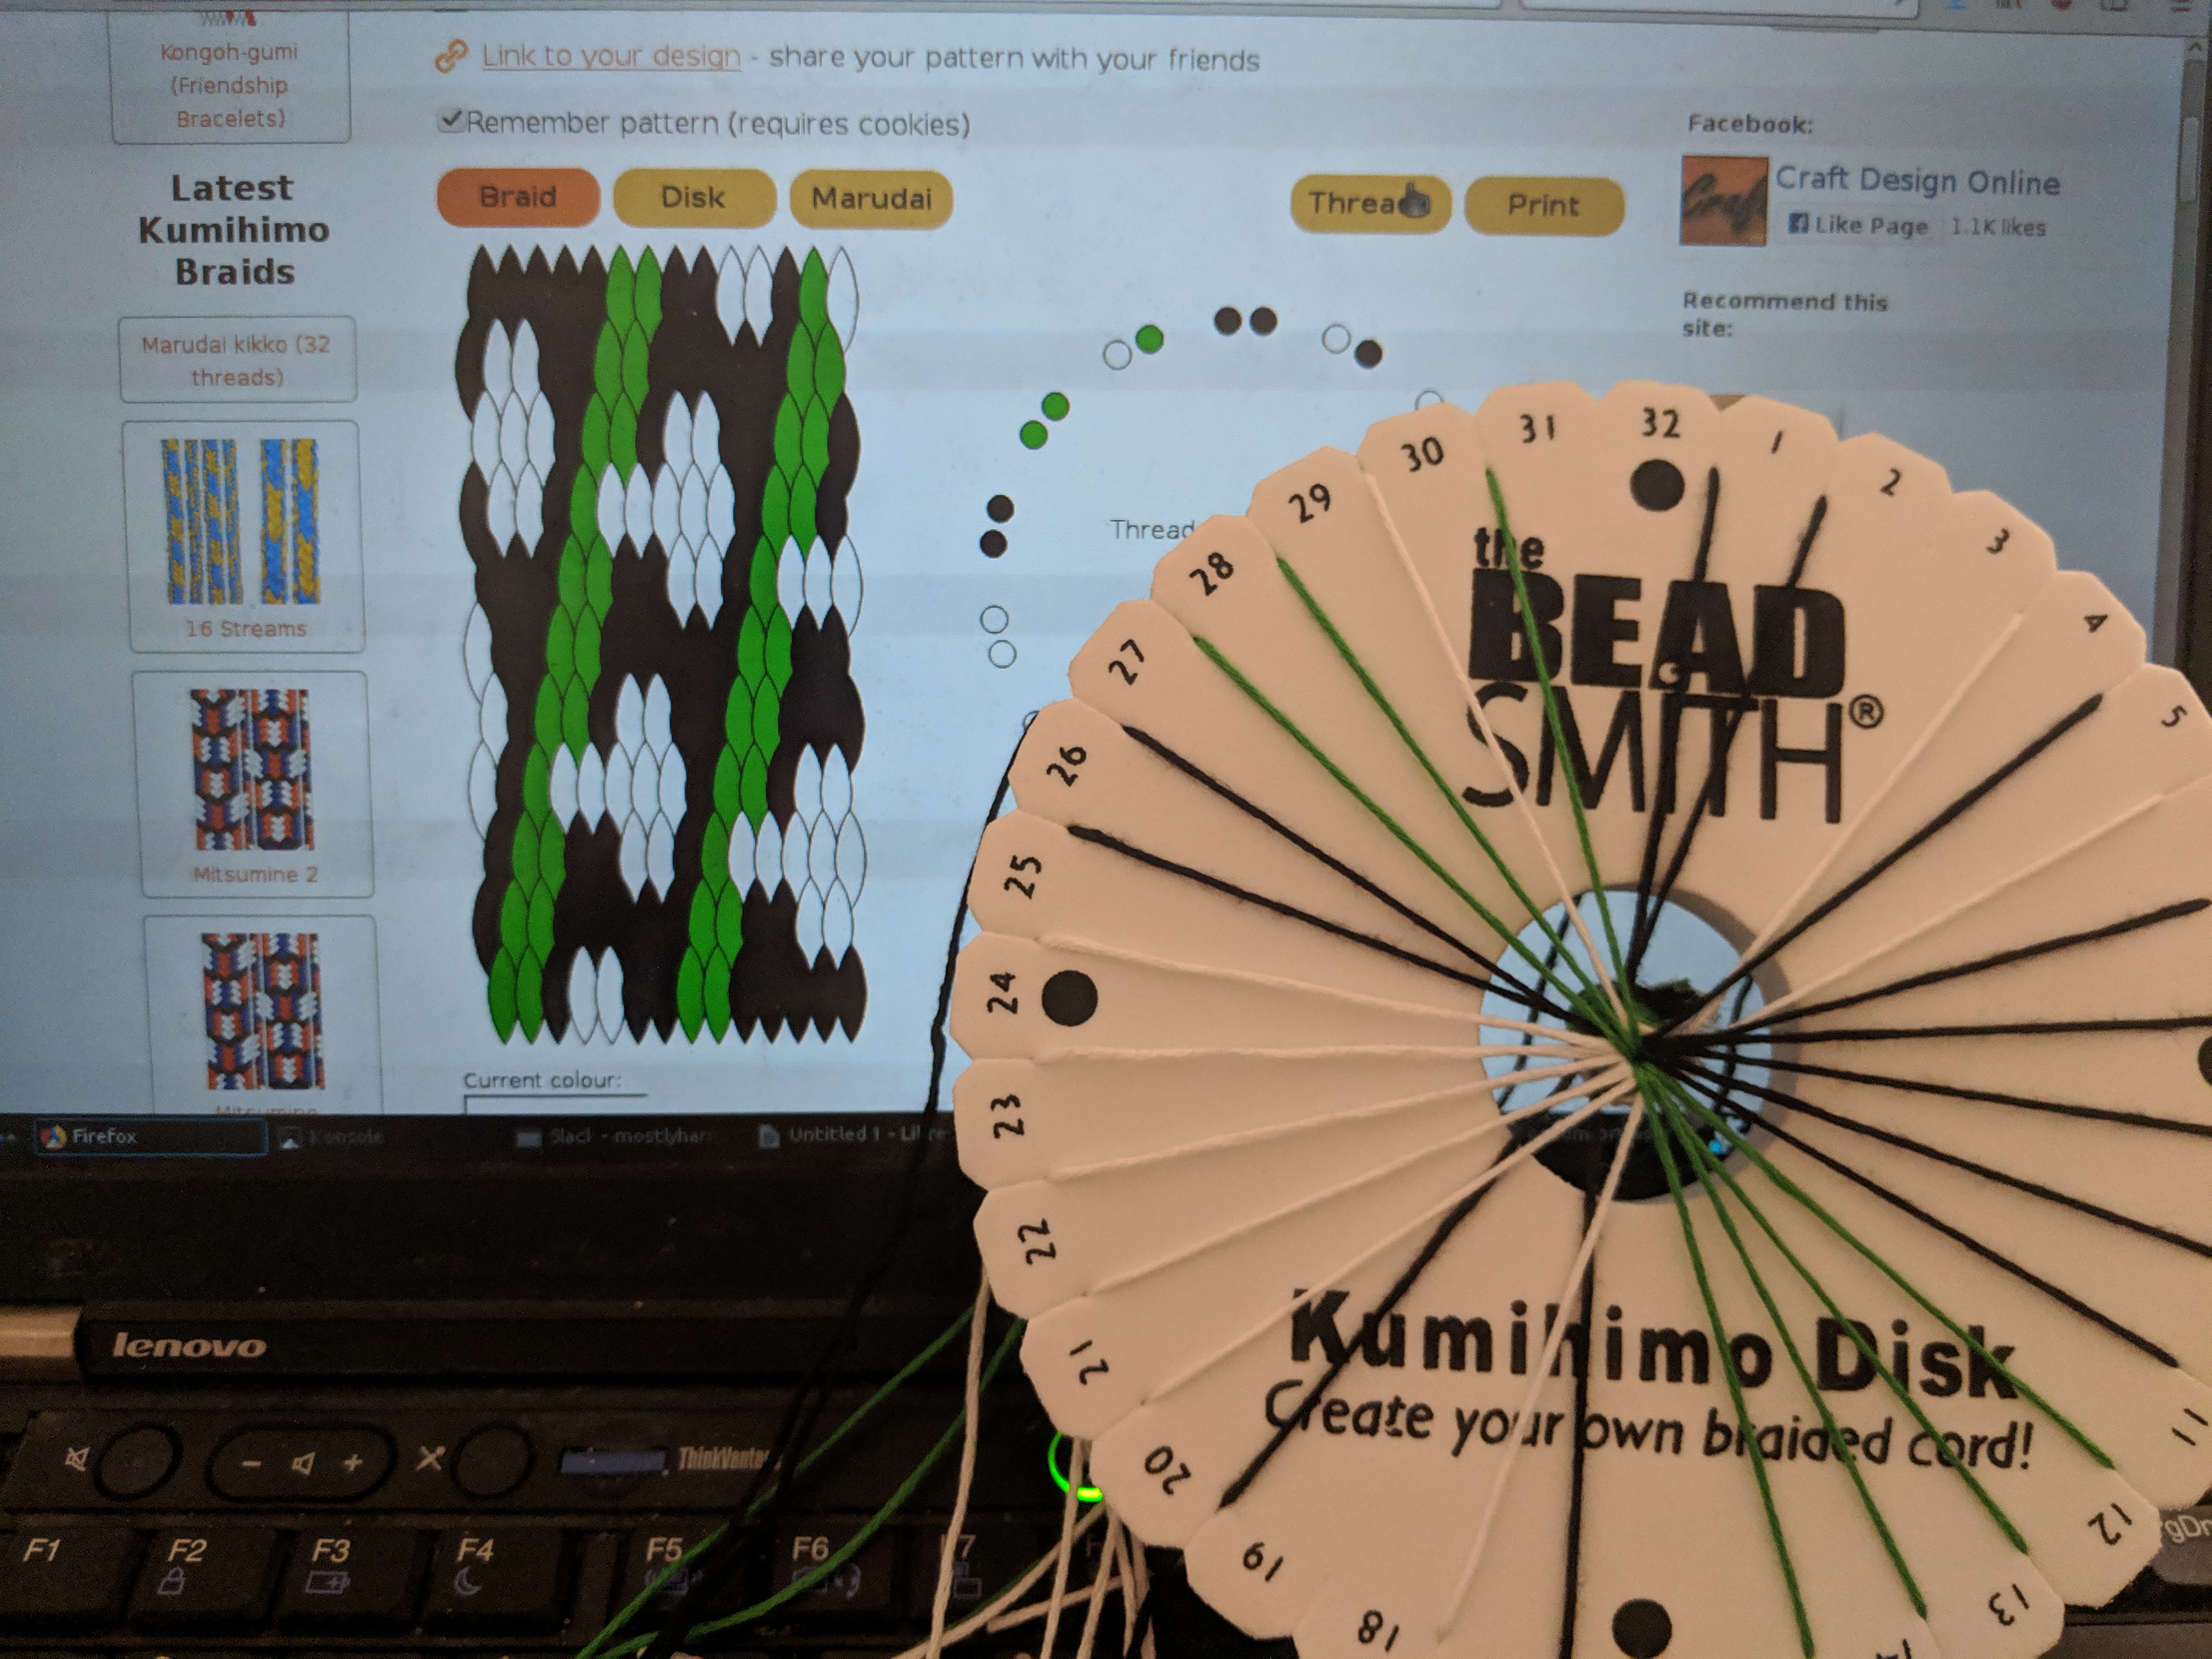
I looked at the threaded disk, and thought to myself: “wait, this looks hard.”
So the next day I came up with a 24 strand pattern. Fewer strands is easier… right?
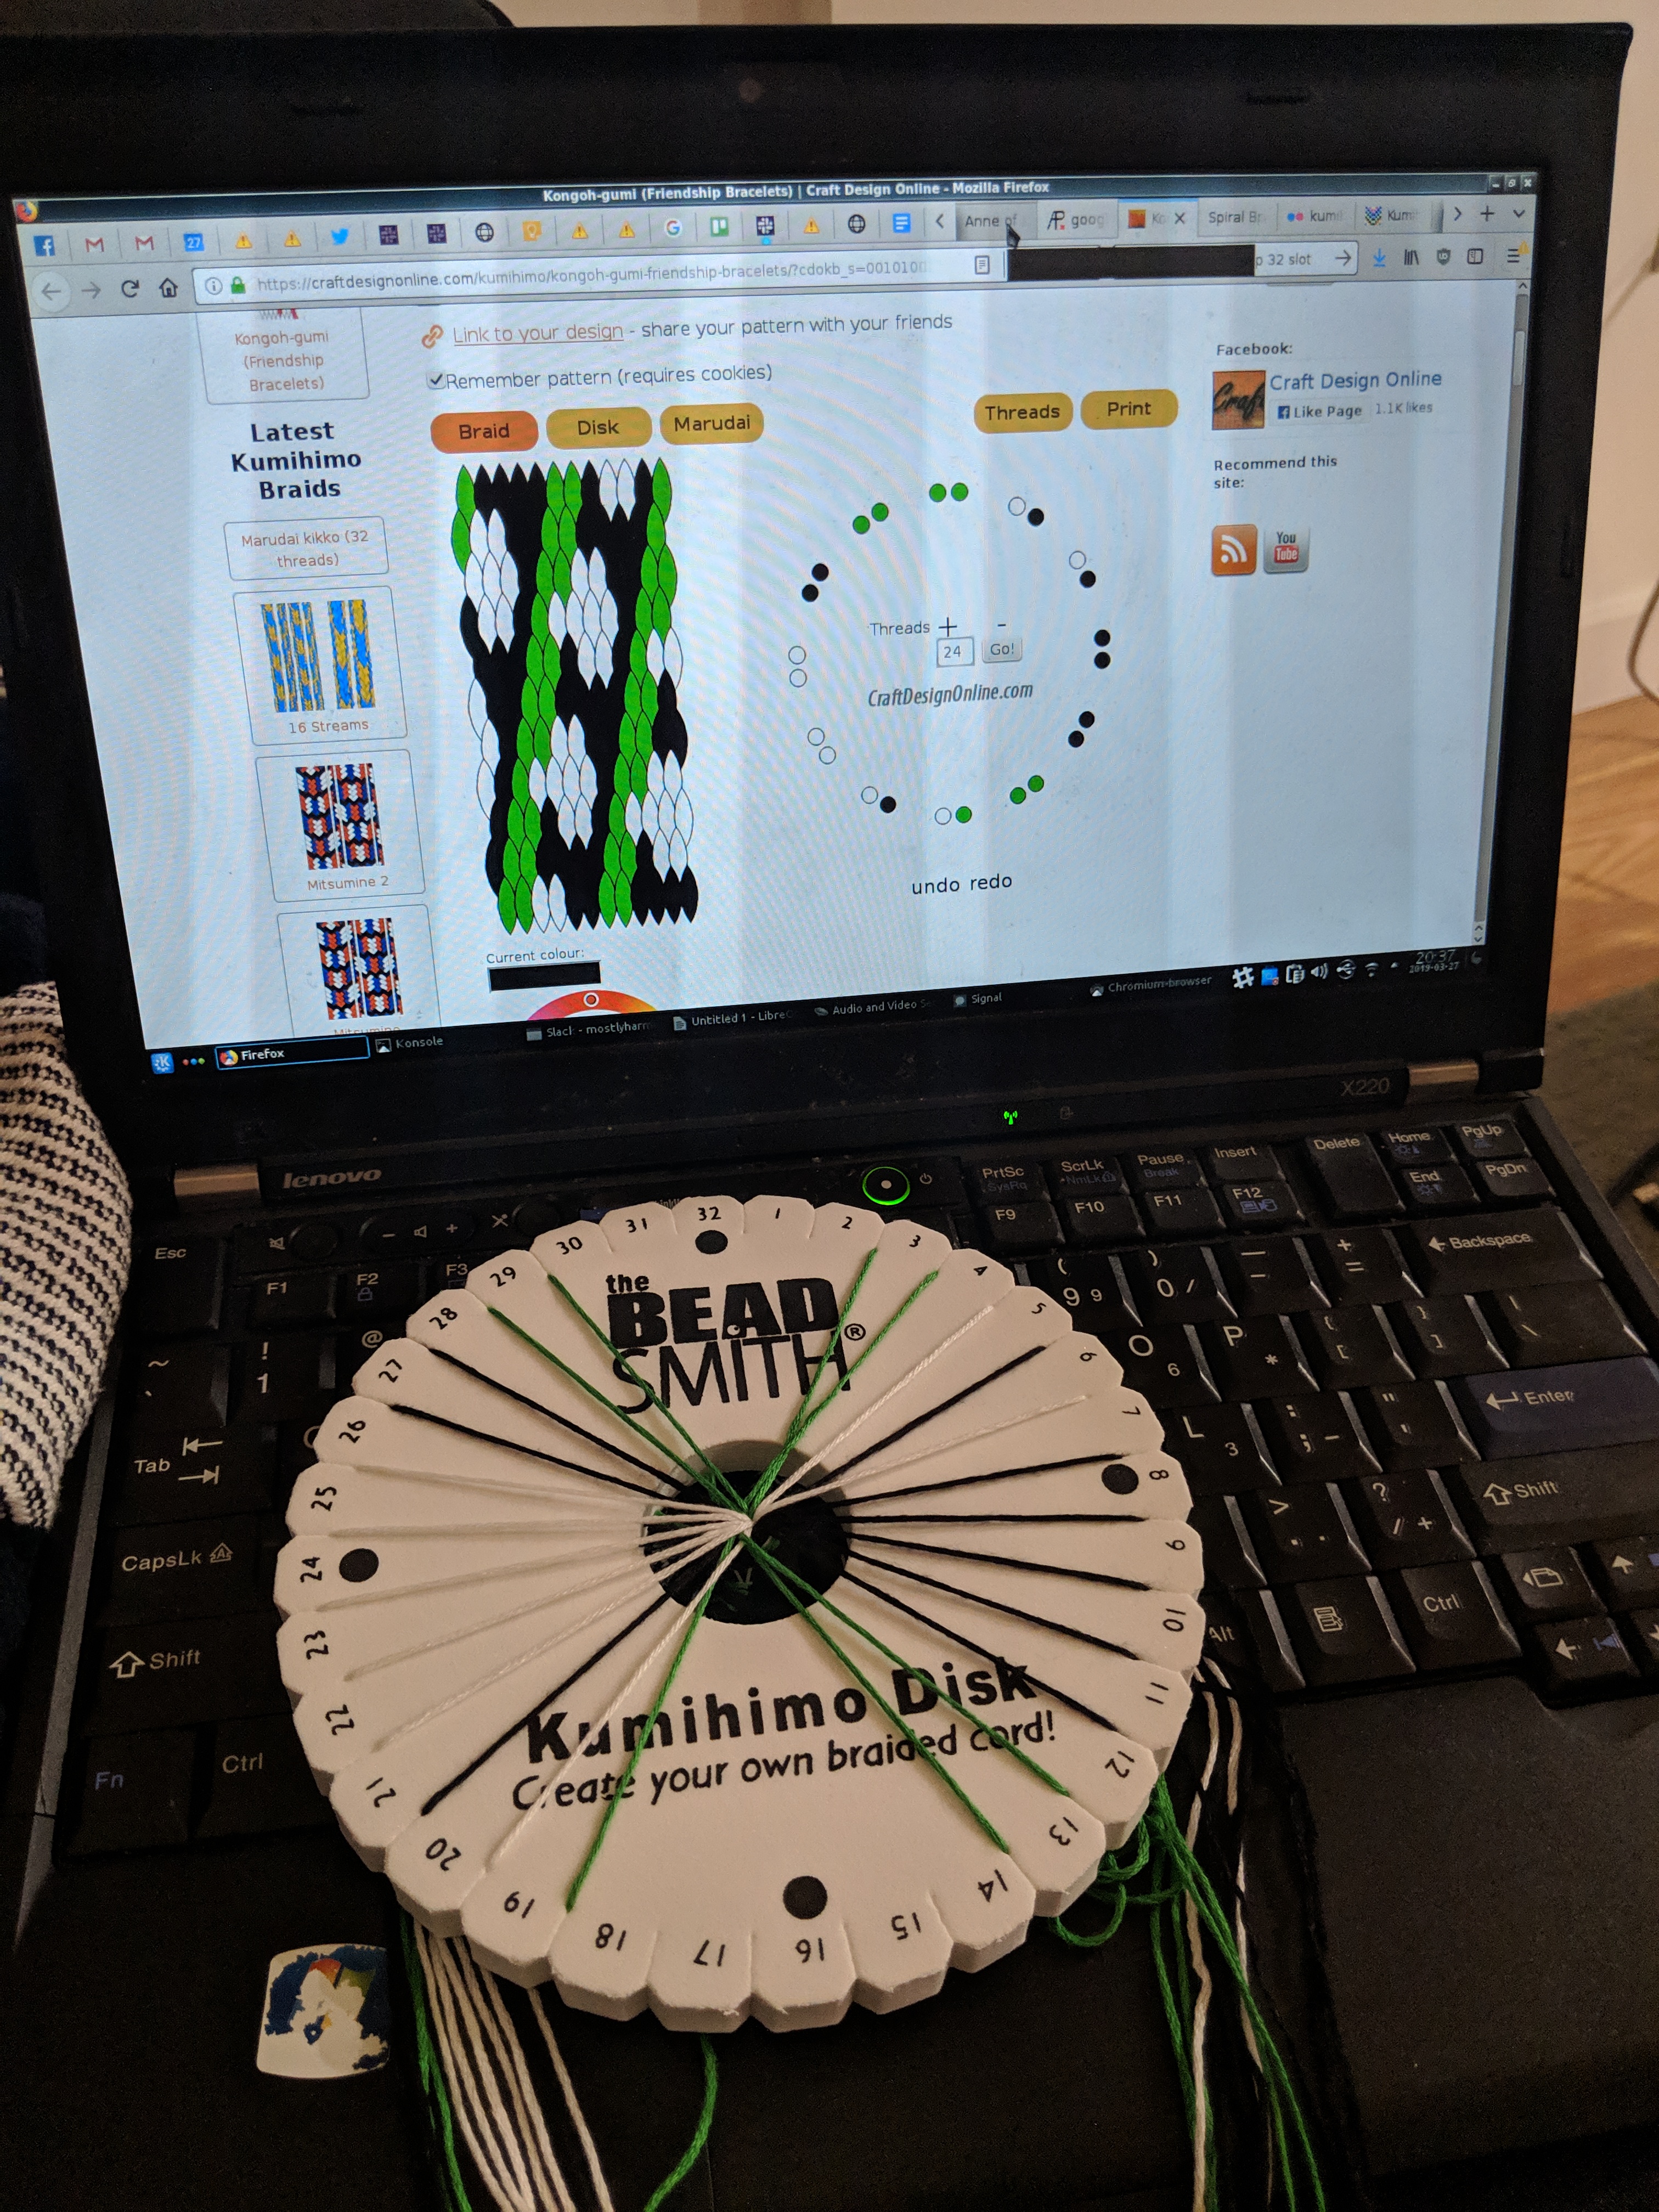
It took, again, an hour or two to set it up, and then I began to braid.
After a couple cycles, I realized I’d made a mistake - there was a single thread alone (pictured on left, slot 22) and they should always be in pairs when I’m done weaving a pair.
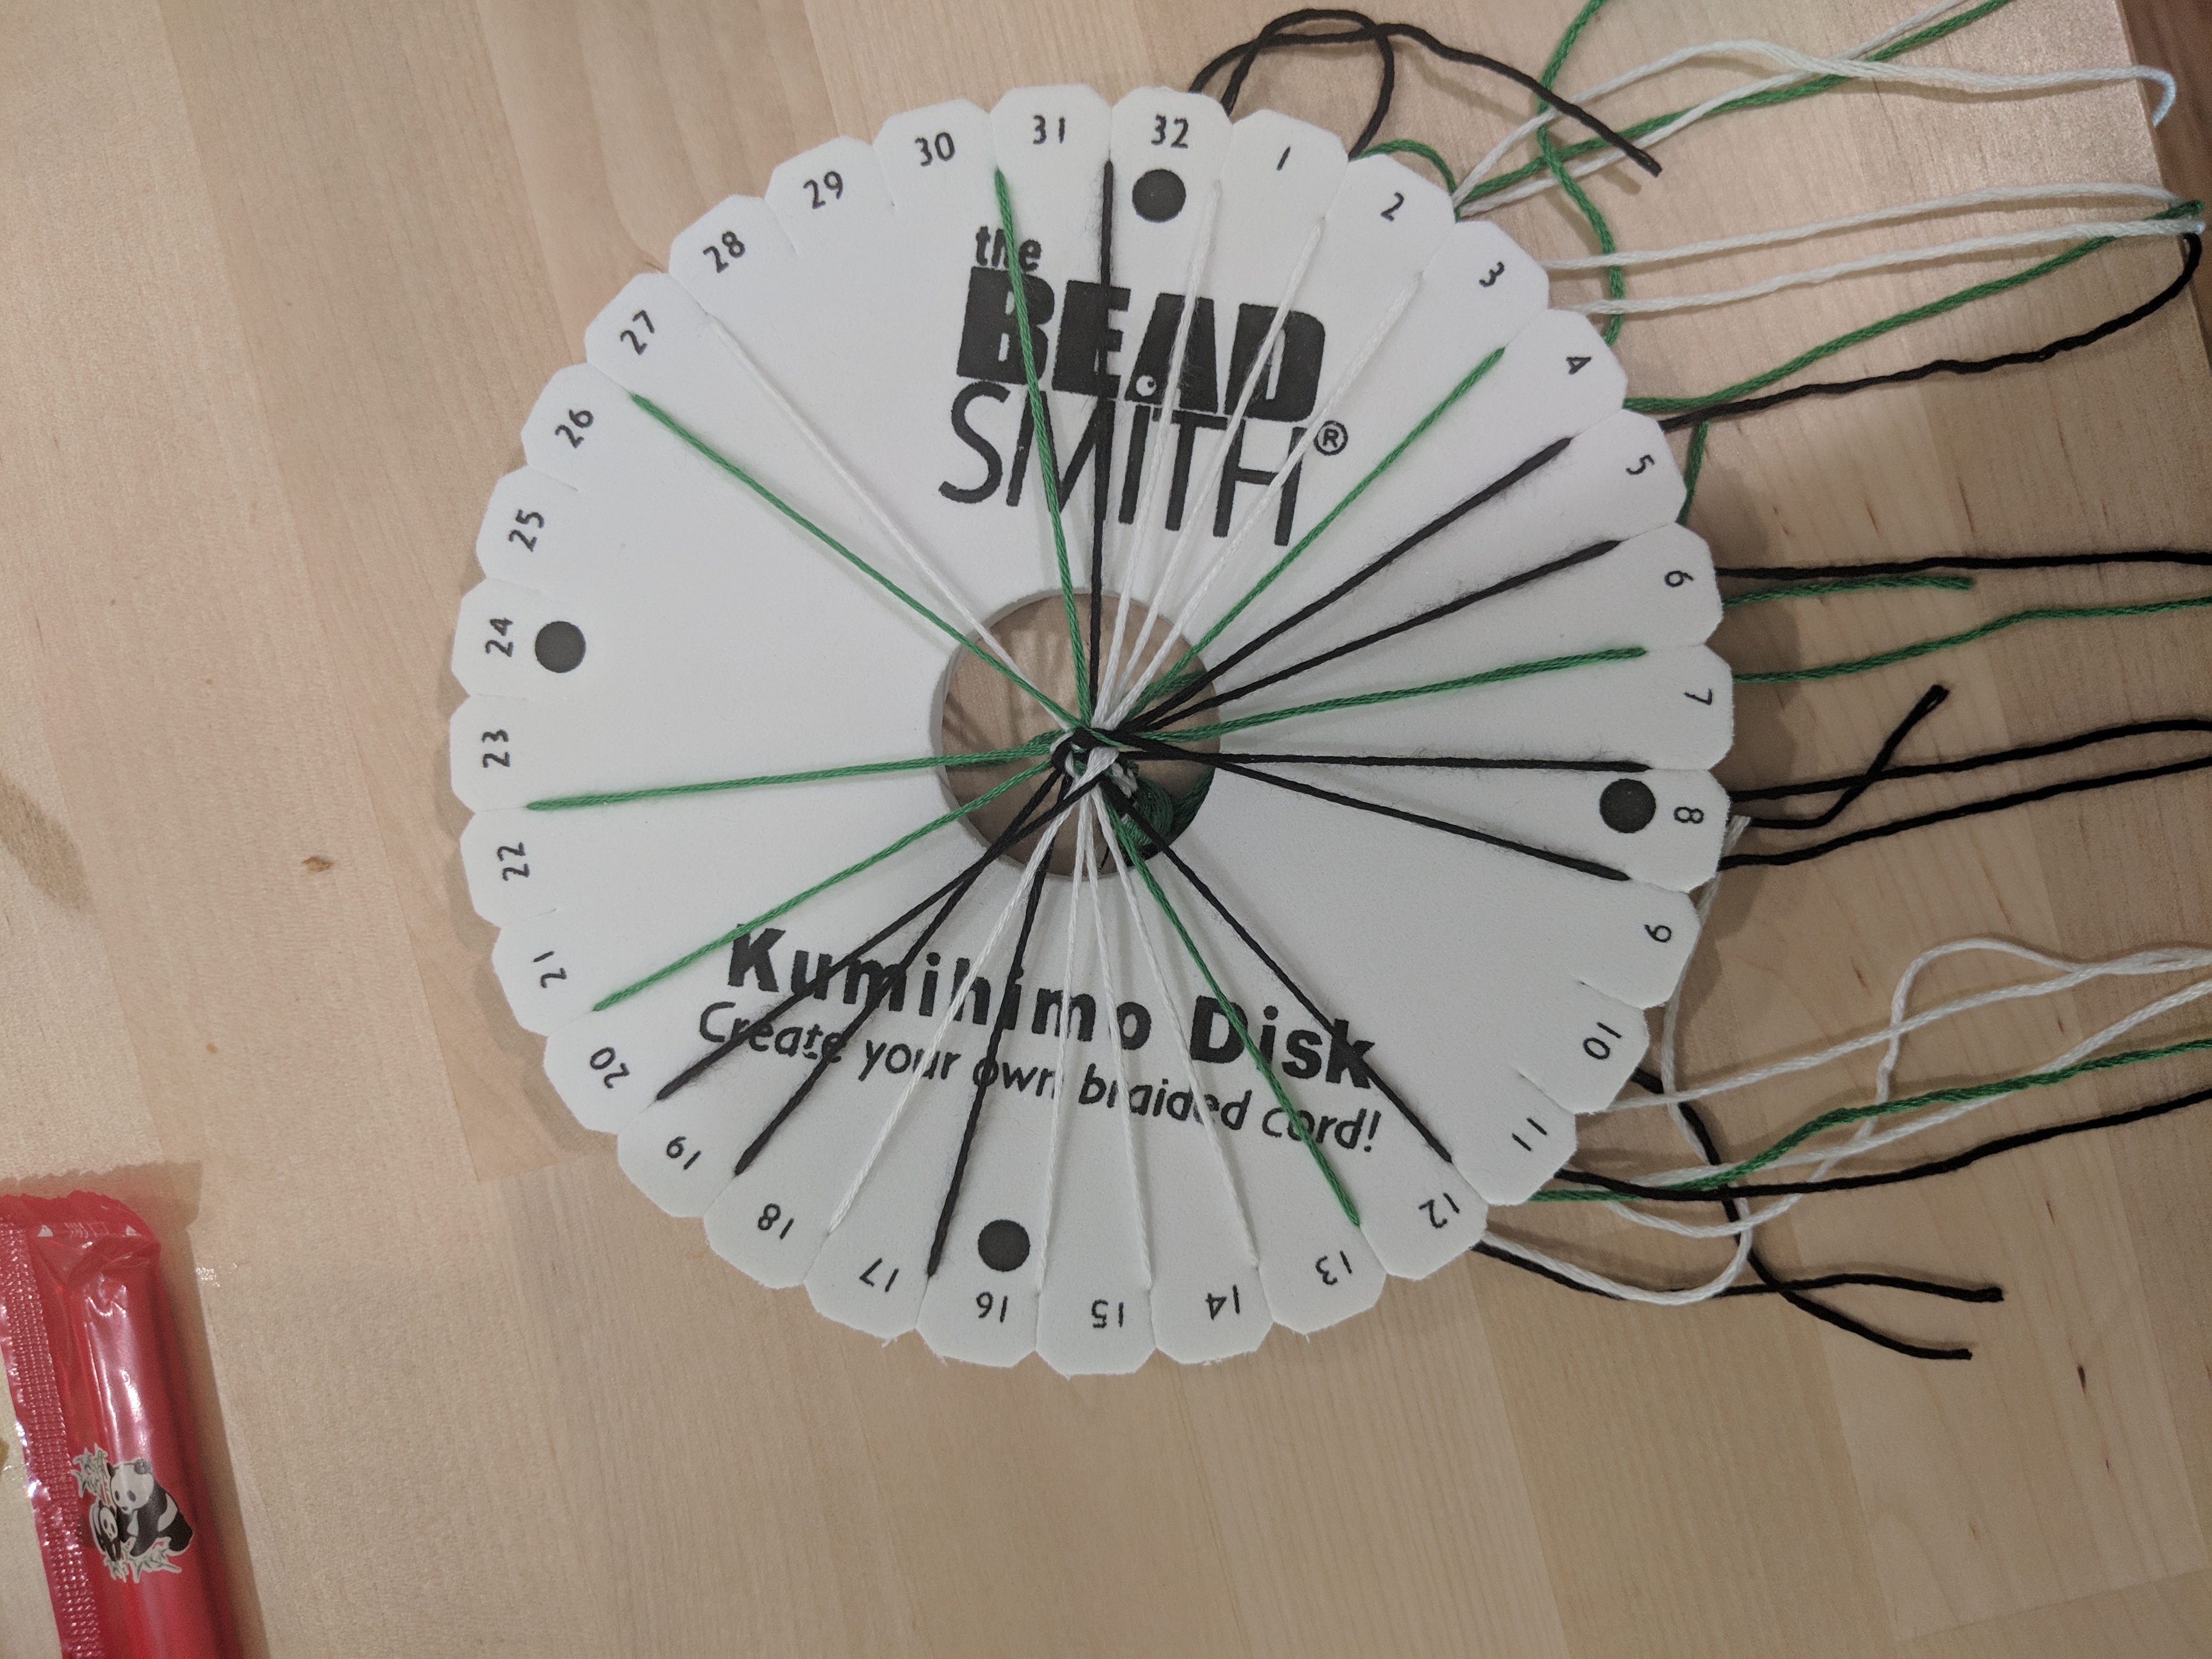
I looked at the woven braid, and realized also that the diagonal green stripe was broken, which was not what the pattern was supposed to look like.
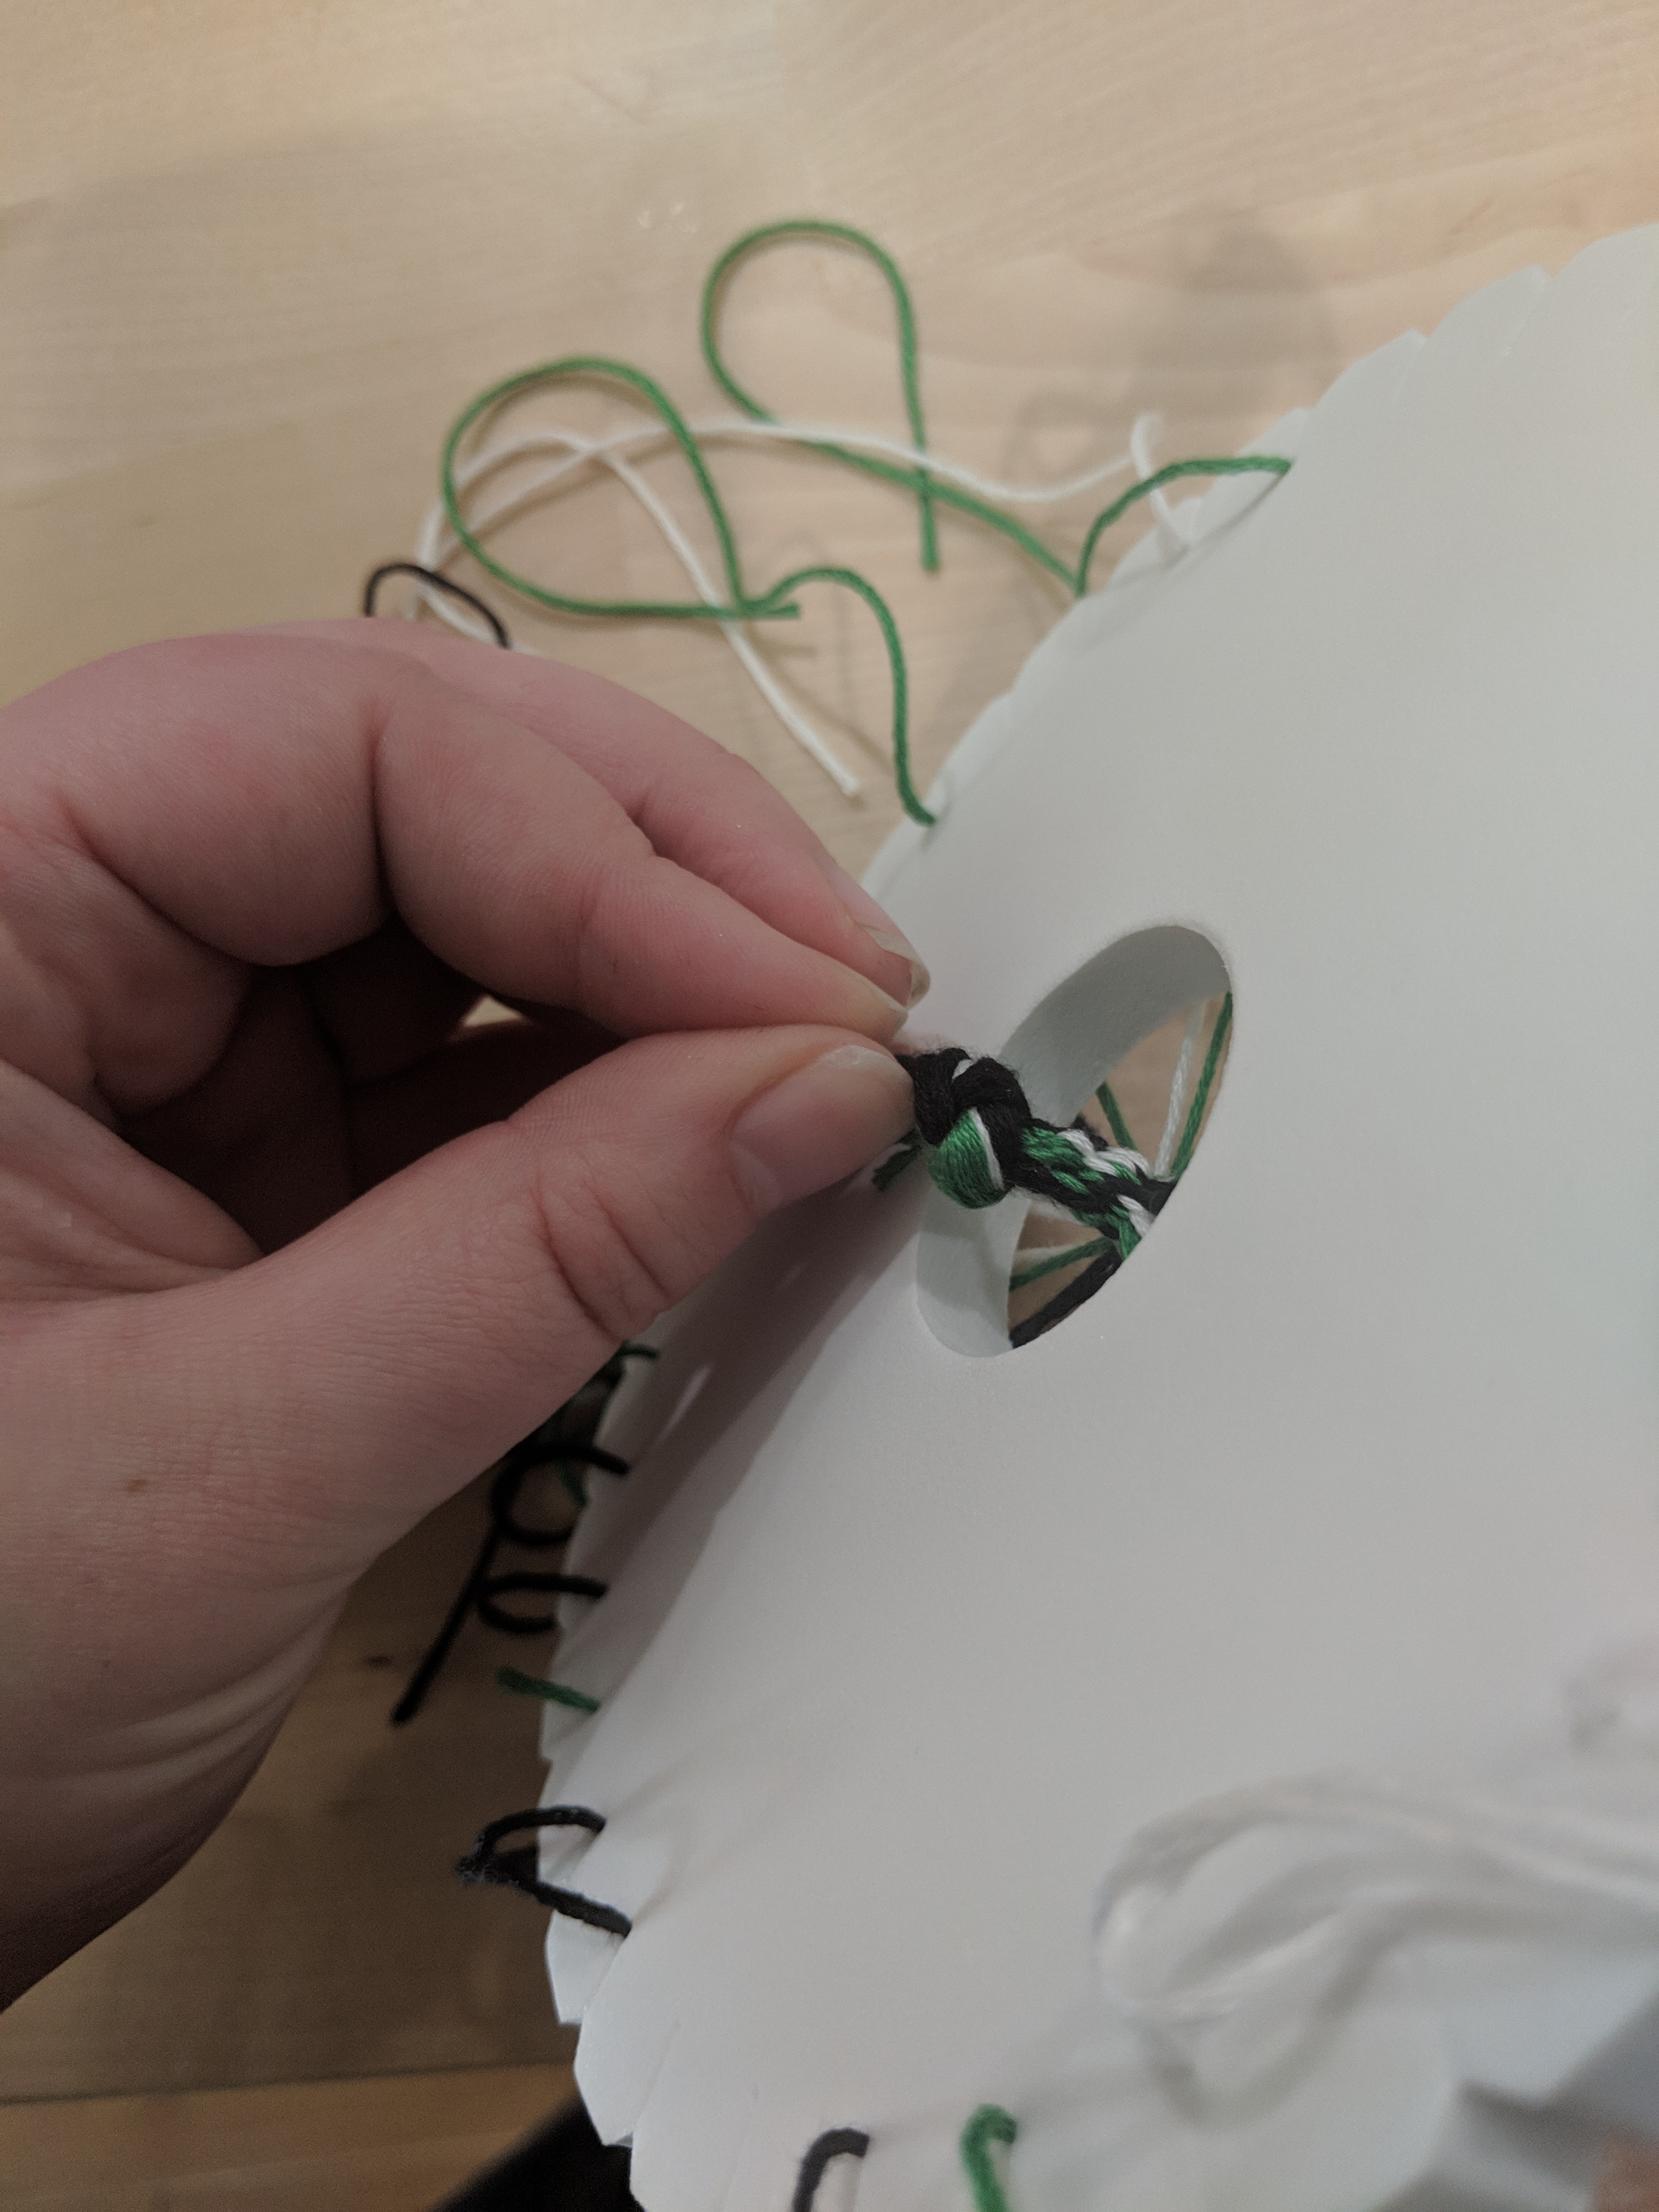
So I abandoned that particular test, and decided to make something easier with a high strand count, to get used to the patterns.
Rainbow braid
By that point, my bobbins had come in. Luckily for me, the 50-pack of floss had come with 12 free bobbins, and 12+16=28.
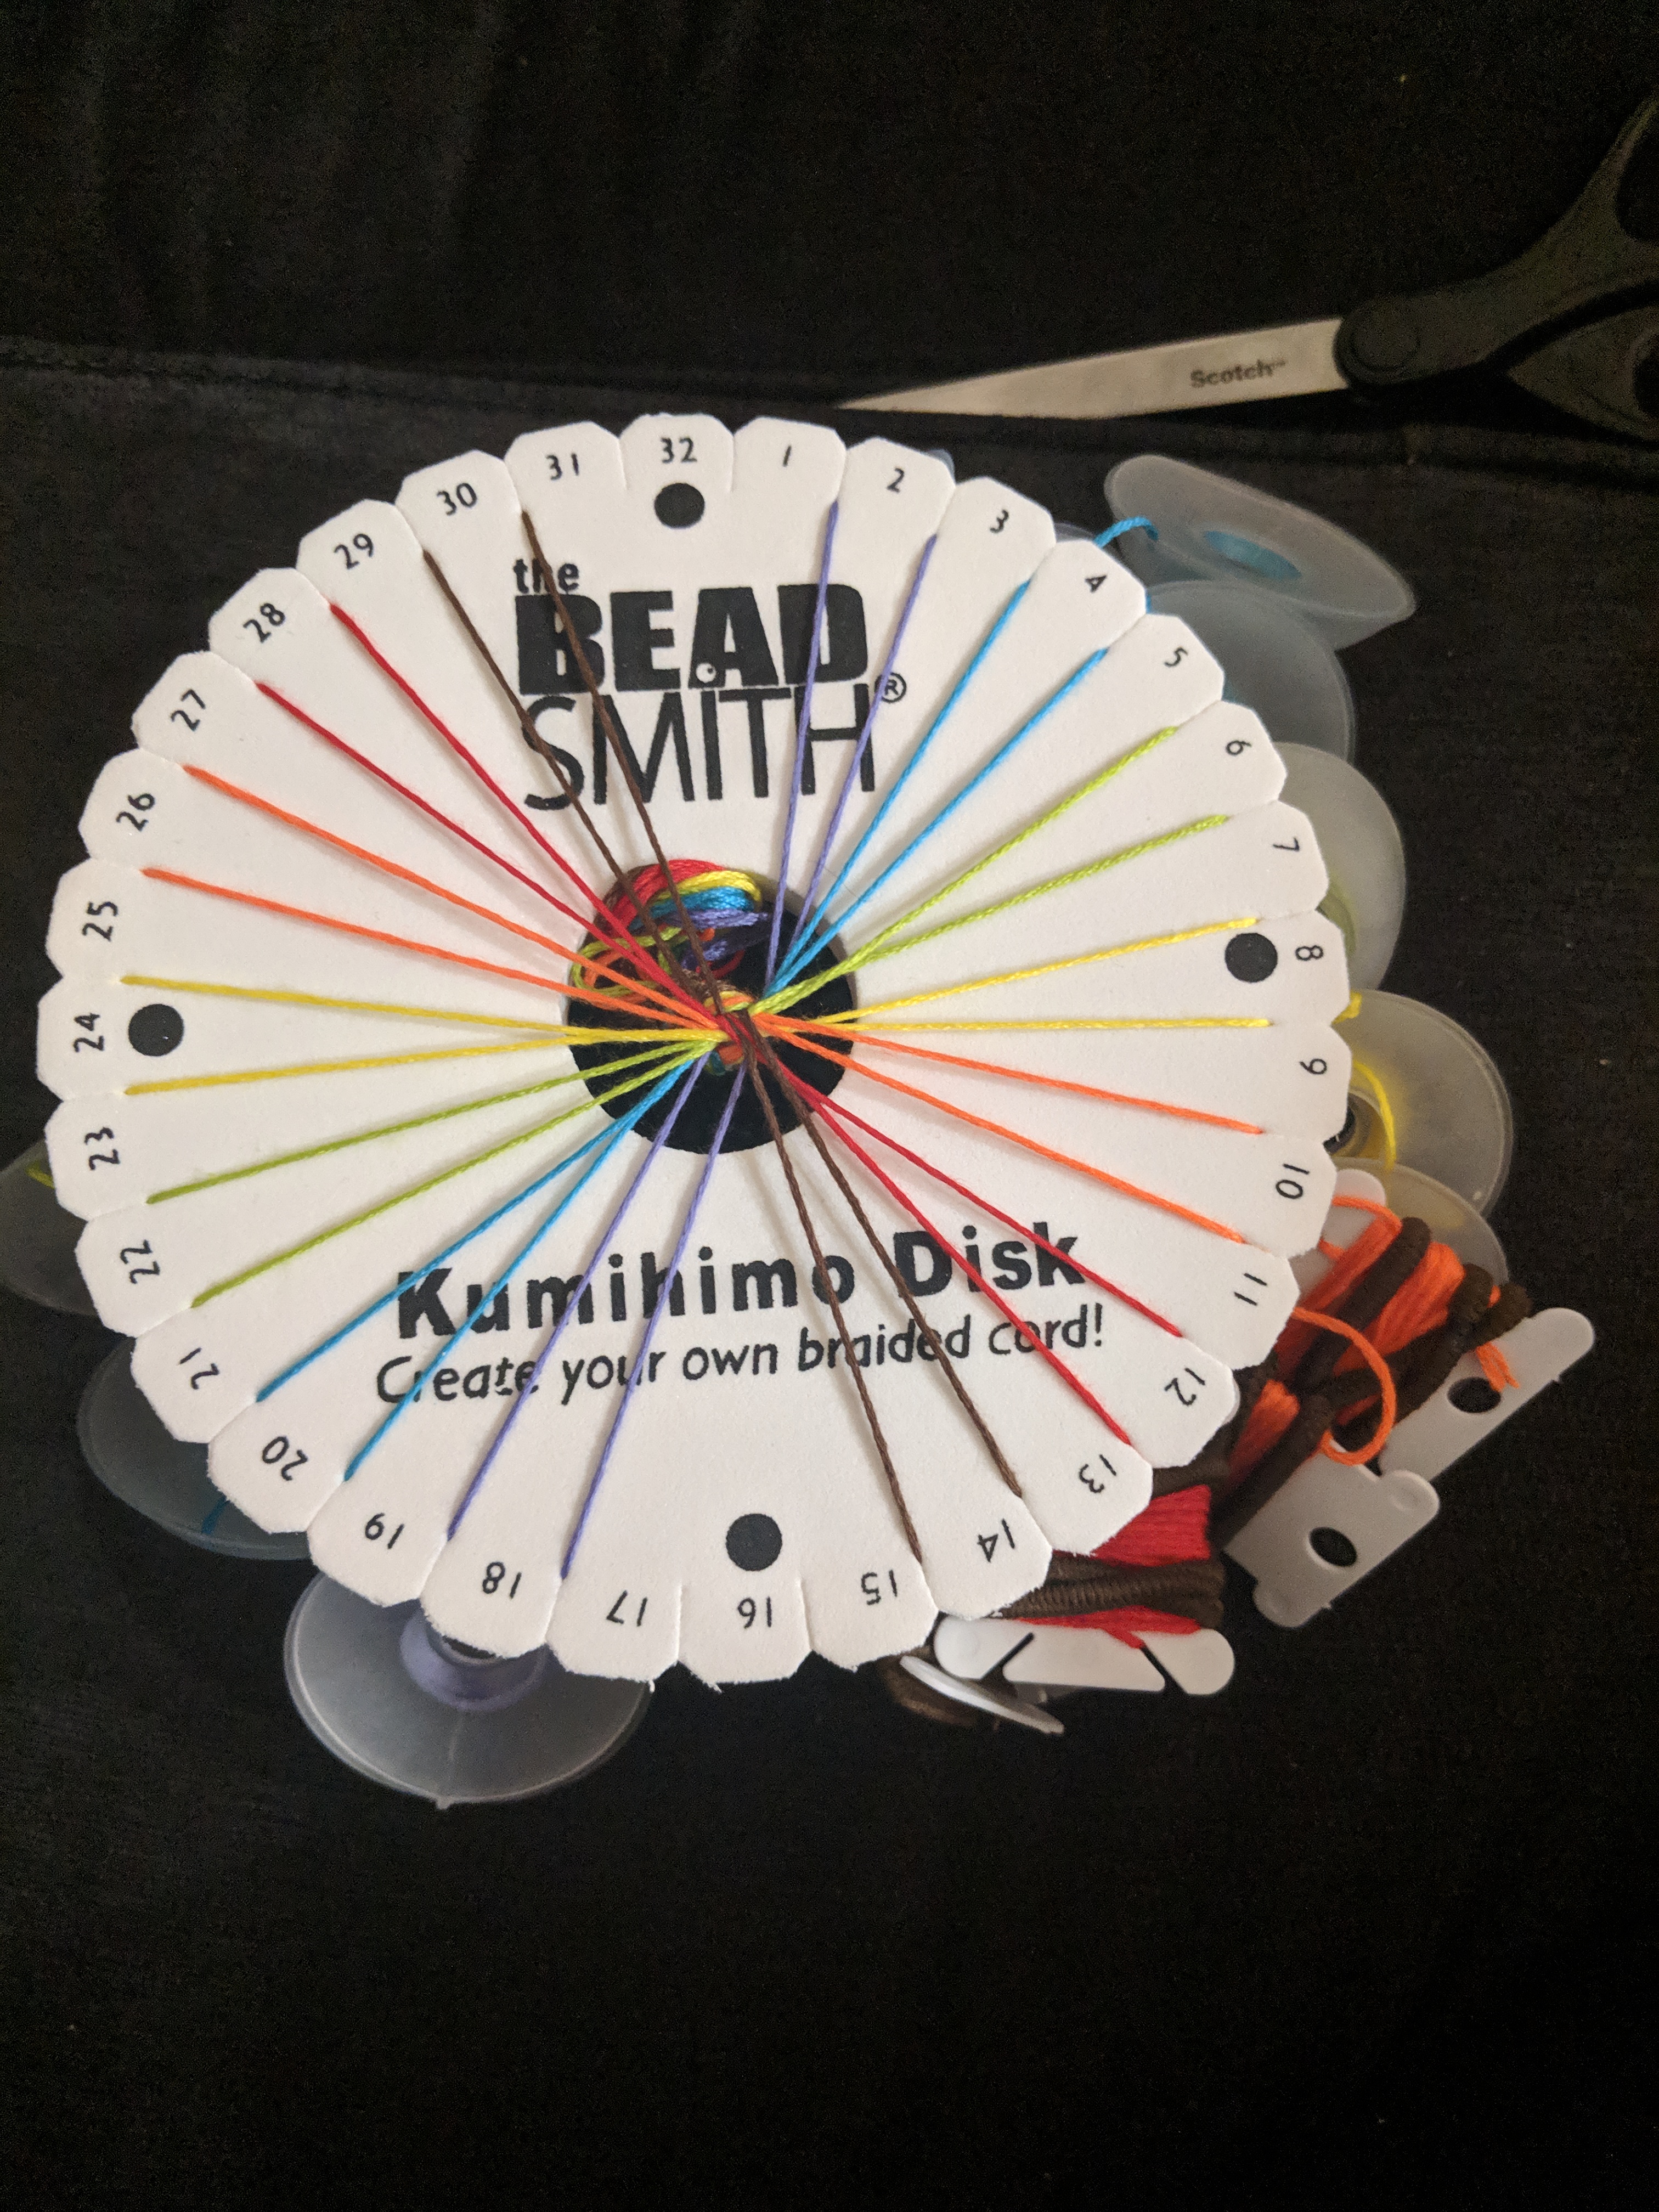
The rainbow pattern on this disk is inspired by the Philadelphia pride flag. Also it makes it really easy to tell which pairs belong together - there’s four strands of each of the seven colors.
I didn’t know how to keep the free bobbins from unwinding immediately. I tried to search online, and found one suggestion to wrap them in hair ties, which is working OK. At Mudthaw this weekend, I asked someone, and was told that if, when threading, you first run your thread through the open circle on one end of the flat plastic bobbin, then thread will stay together until you unloop it yourself (which you do the long way around the bobbin). I don’t have a free bobbin to write this up with a picture myself - she showed me with her disk. Maybe I’ll take a picture after the bobbins are free again.
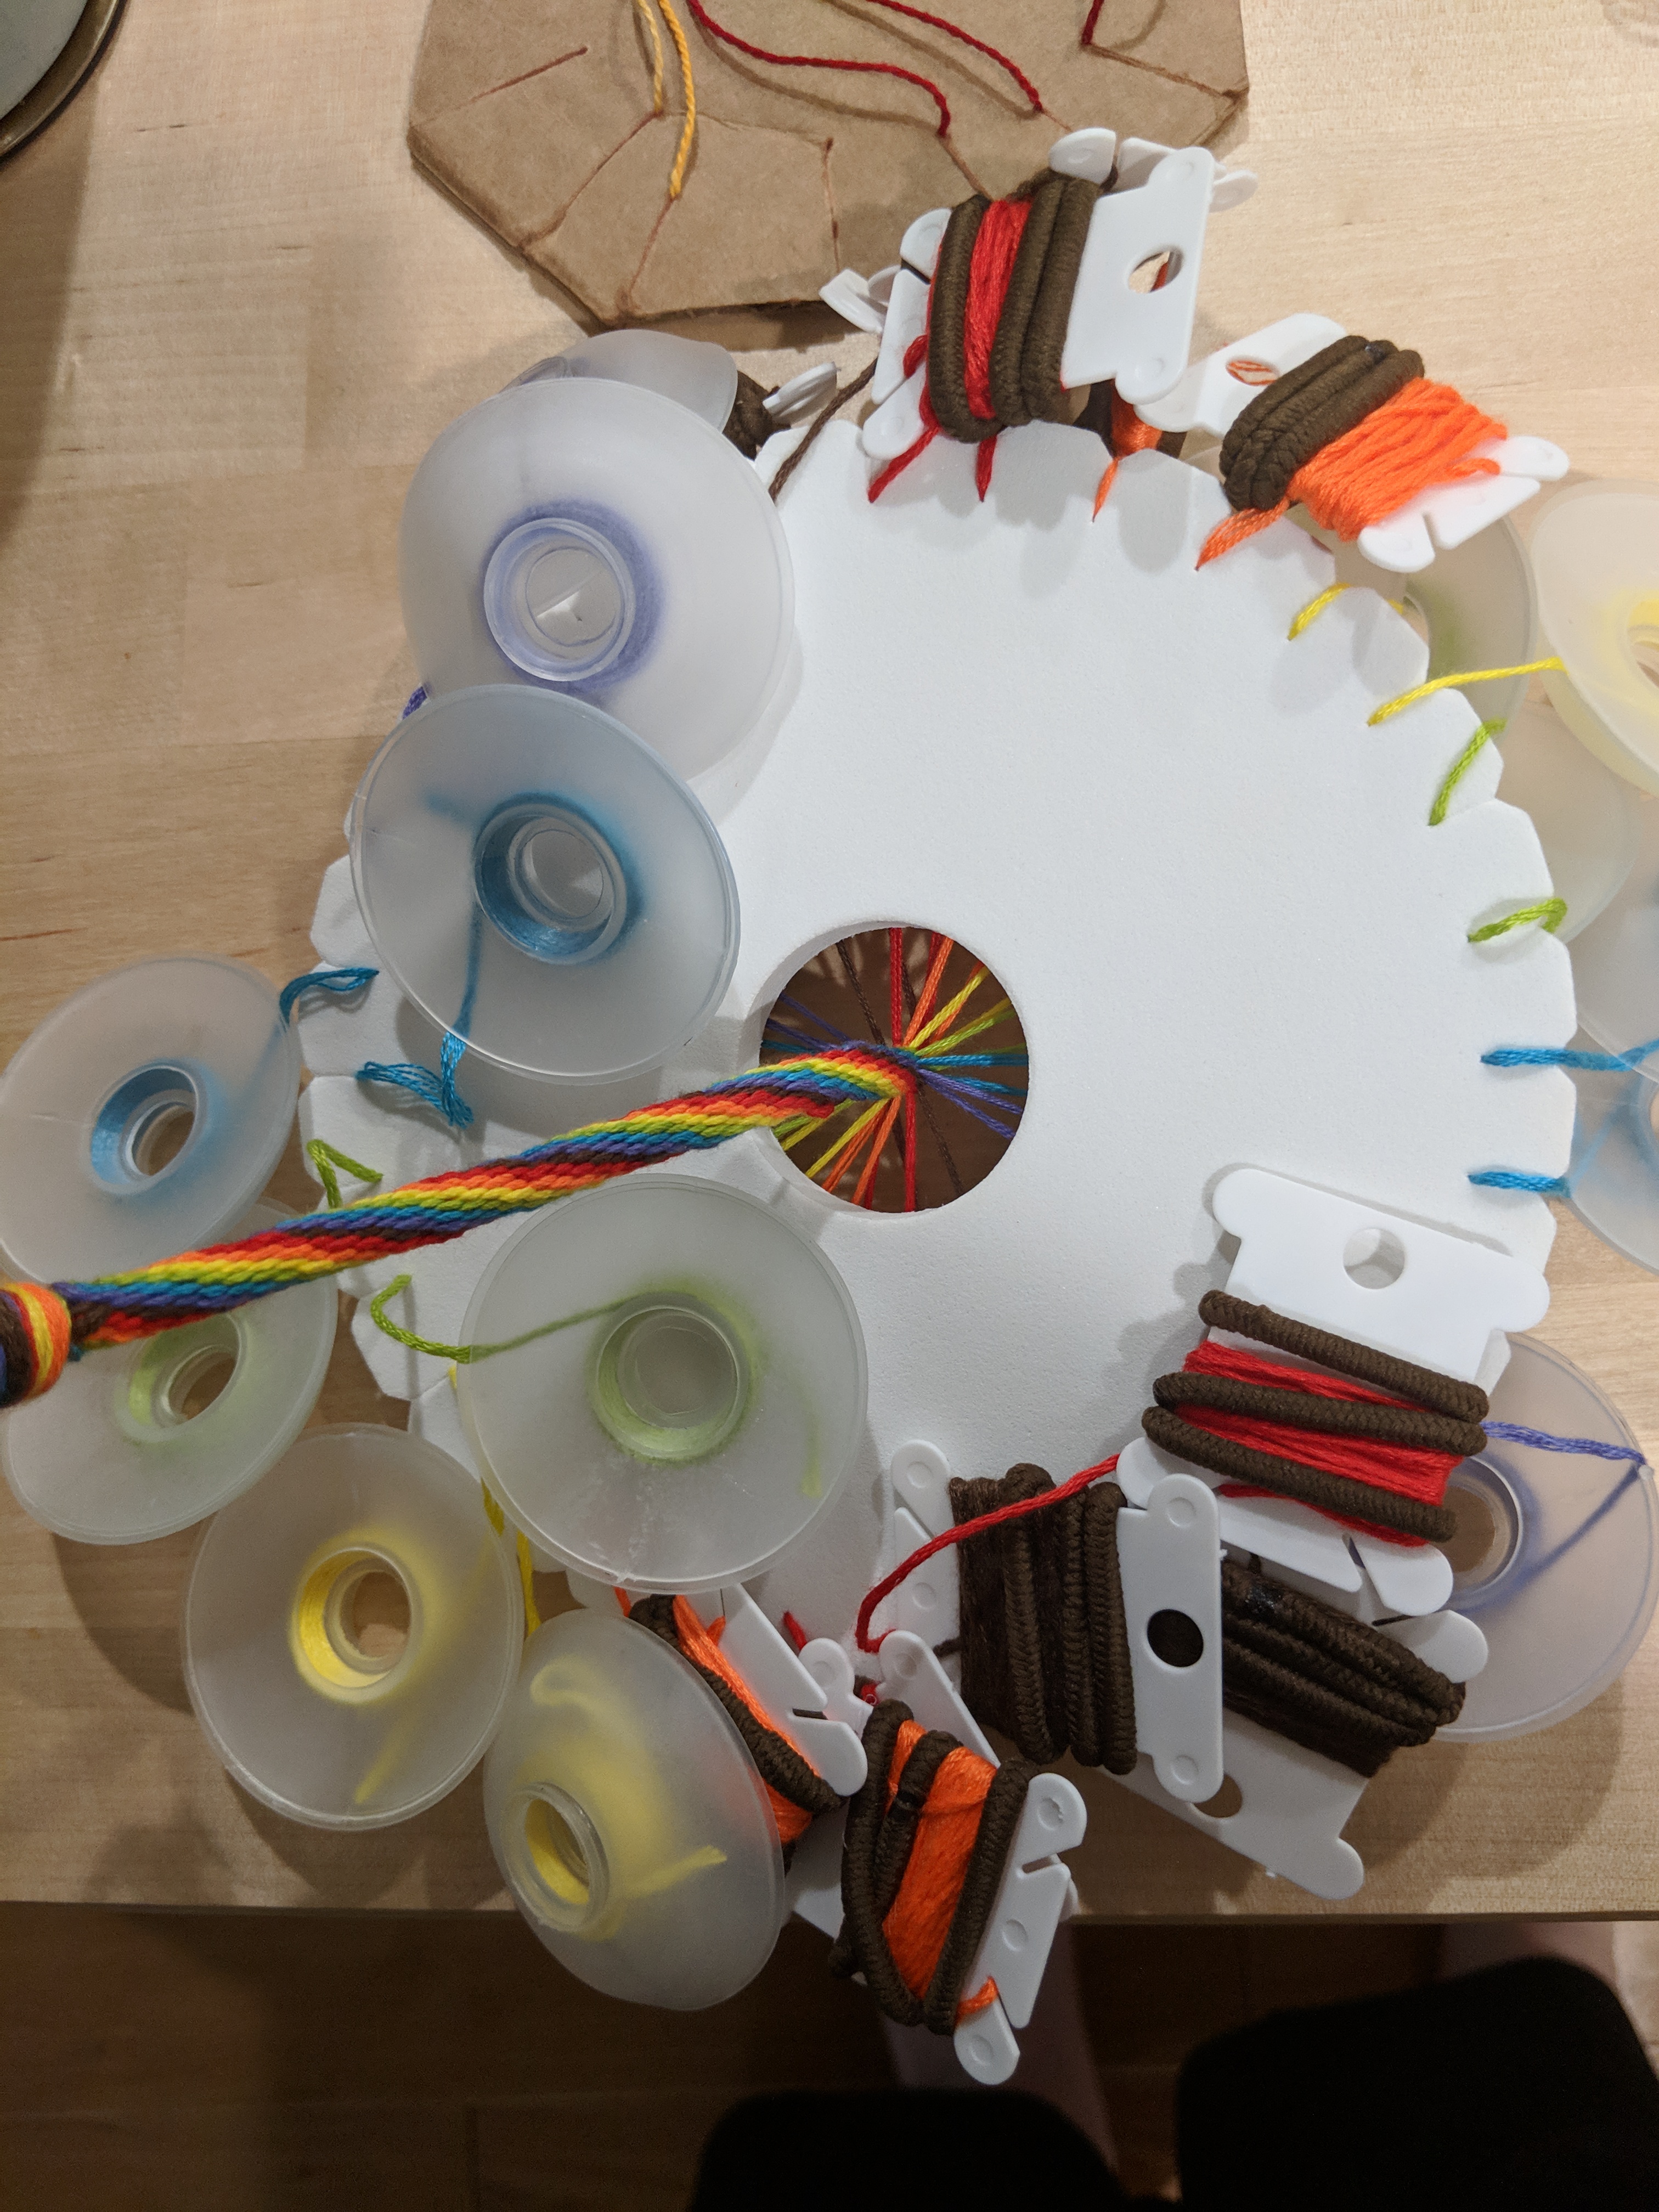
I had some time to work on this braid in the car to and from Mudthaw, and also in the hour of court that I stayed for. This is what it looks like now:
Conclusion
I’m having a great time and looking forward to this and other projects. I’m trying to keep myself from buying more disks until I know if this is a passing phase or not, but they aren’t that expensive, and the temptation is there (especially since my foam disk is too big for the train). A Facebook friend posted on one of my progress pictures “I see you are only days away from a marudai 😊” and sometimes it feels like she is not that far from the truth.