Kumihimo, first week
On Monday, I felt like I should start knitting again. I don’t actually like knitting, but I wanted something to keep my hands busy. So I asked my Facebook friends for a fiber art that I could do on the subway trains in to work.
Suggestions I received included:
- lucet cord
- crochet
- kumihimo
- nalbinding
- braiding for rugs
- sewing small things, possibly with a blunt needle
I was worried about the size of the thing I was creating being too large to keep in a pocket. Also I don’t (yet) have a lucet to make lucet cord with. I thought I had a kumihimo disk somewhere from a workshop, so I thought I’d start with that.
What is kumihimo?
Kumihimo is a Japanese technique for weaving cords. You can use a handheld disk as a loom and weave by moving threads across it.
The kumihimo disk
It turns out I couldn’t find my kumihimo disk, because I moved two weeks ago, and everything’s a mess. However, since I moved two weeks ago, I have a lot of cardboard boxes and an x-acto knife conveniently available.
Making your own kumihimo disk
Foam disks that you can buy for kumihimo have 32 slots in a circle. The disk I made has 16 in a not-quite-circle, more of a square with the corners cut off, which I am going to call an octagon. This means I can’t do more complicated 16-strand braids on it, but also means it was simple enough for me to cut the shape from a box myself.
Here’s what I did:
- Find a box and x-acto knife. Find some other boxes to put under the main box while you cut, so you don’t damage your counter or the knife.
- Cut a square that’s about handheld size (maybe six inches?) out of the box. I did not measure this.
- Cut the corners off the square, going in about halfway to the center, so that you now have a regular octagon.
- Cut slits from the outside edge to about half an inch in at each point of the octagon. I didn’t measure this either, but I kind of wish I had. They should be all the same length.
- Cut slits at the center of each side of the octagon, all the same length.
- Cut a small hole in the center of your shape for the completed braid to run through. You can probably eyeball this, as I did. Do not fold the disk to try and determine the center - having the disk be evenly rigid makes braiding much easier, and folding it compromises that.
8 strand braid: my notes
For my first test braid, I used four colors of embroidery floss, two skeins of each. I recommend that you use a couple different colors, so you can tell what goes where when you’re first learning. I recommend that you use solid colors, because I have a box of embroidery floss of colors that fade in intensity (the box says “variegated”) and the resulting braid didn’t show off the colors well at all.
Most tutorials say that you should cut four lengths and fold them in half, then tie an overhand knot. I just knotted all eight ends together with an overhand knot. This mostly worked fine, except that having a blobby embroidery floss skein on the unwoven end made it very very easy for the loose ends to tangle as I wove the braid. I would recommend cutting test lengths to start.
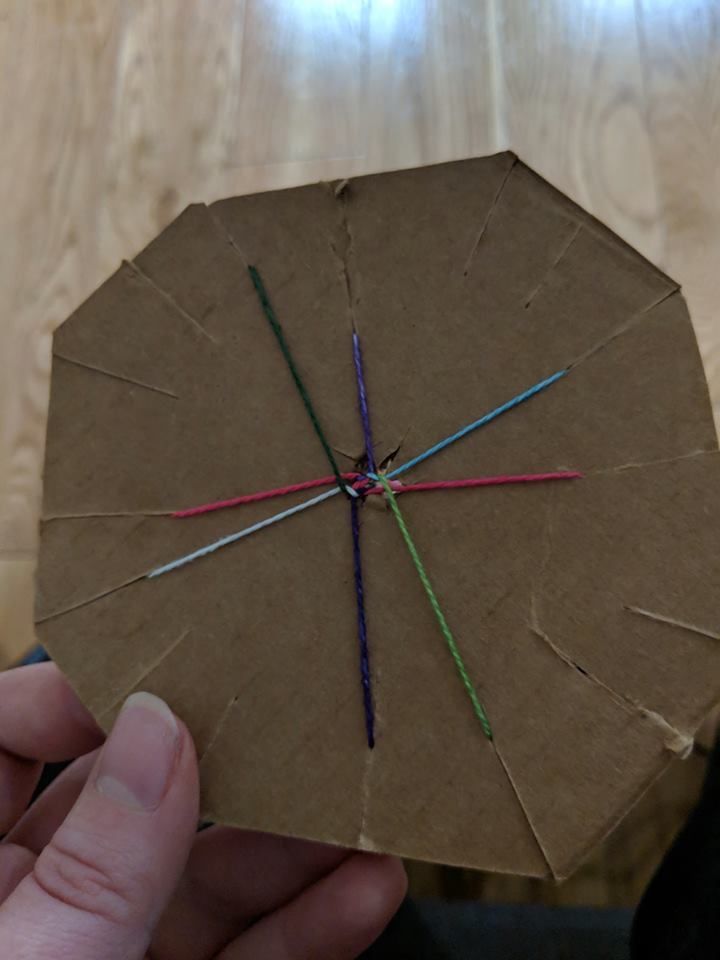
Either way, once you have eight long pieces with a knot at one end, push the knot through the center of your card and array the colors following this tutorial, which has far better GIFs than I currently know how to make: https://www.dreamalittlebigger.com/post/kumihimo-8-strand-cord-tutorial.html
This is what mine looked like:

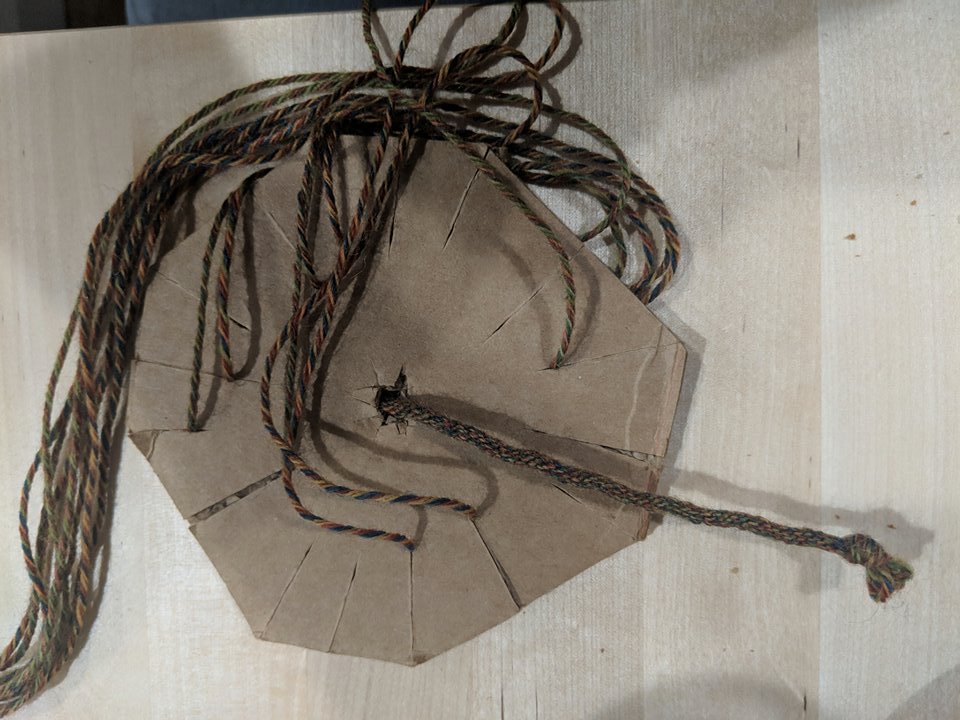
I abandoned my test braid pretty quickly. I then set up another 8-strand braid with all the same color of sock yarn, to try it on the train.
Results
I found the 8-strand braid to be the right level of difficulty to distract me on the train without being so complex that I couldn’t put it down quickly when I needed to pay attention to my surroundings.
I made a lot of progress even in the first day of commuting!

The sock yarn I used is stretchy (it’s wool with some nylon, apparently), so the resulting braid is a bit stretchy even though kumihimo isn’t inherently supposed to stretch.
I also found that the braid I made felt uneven to the touch in a regular pattern. I don’t think it’s visible unless you’re looking closely for variance. I think this is because of tensioning issues, because I cut the slots in my disk unevenly. I am going to buy a foam disk to try and fix this.
Next steps
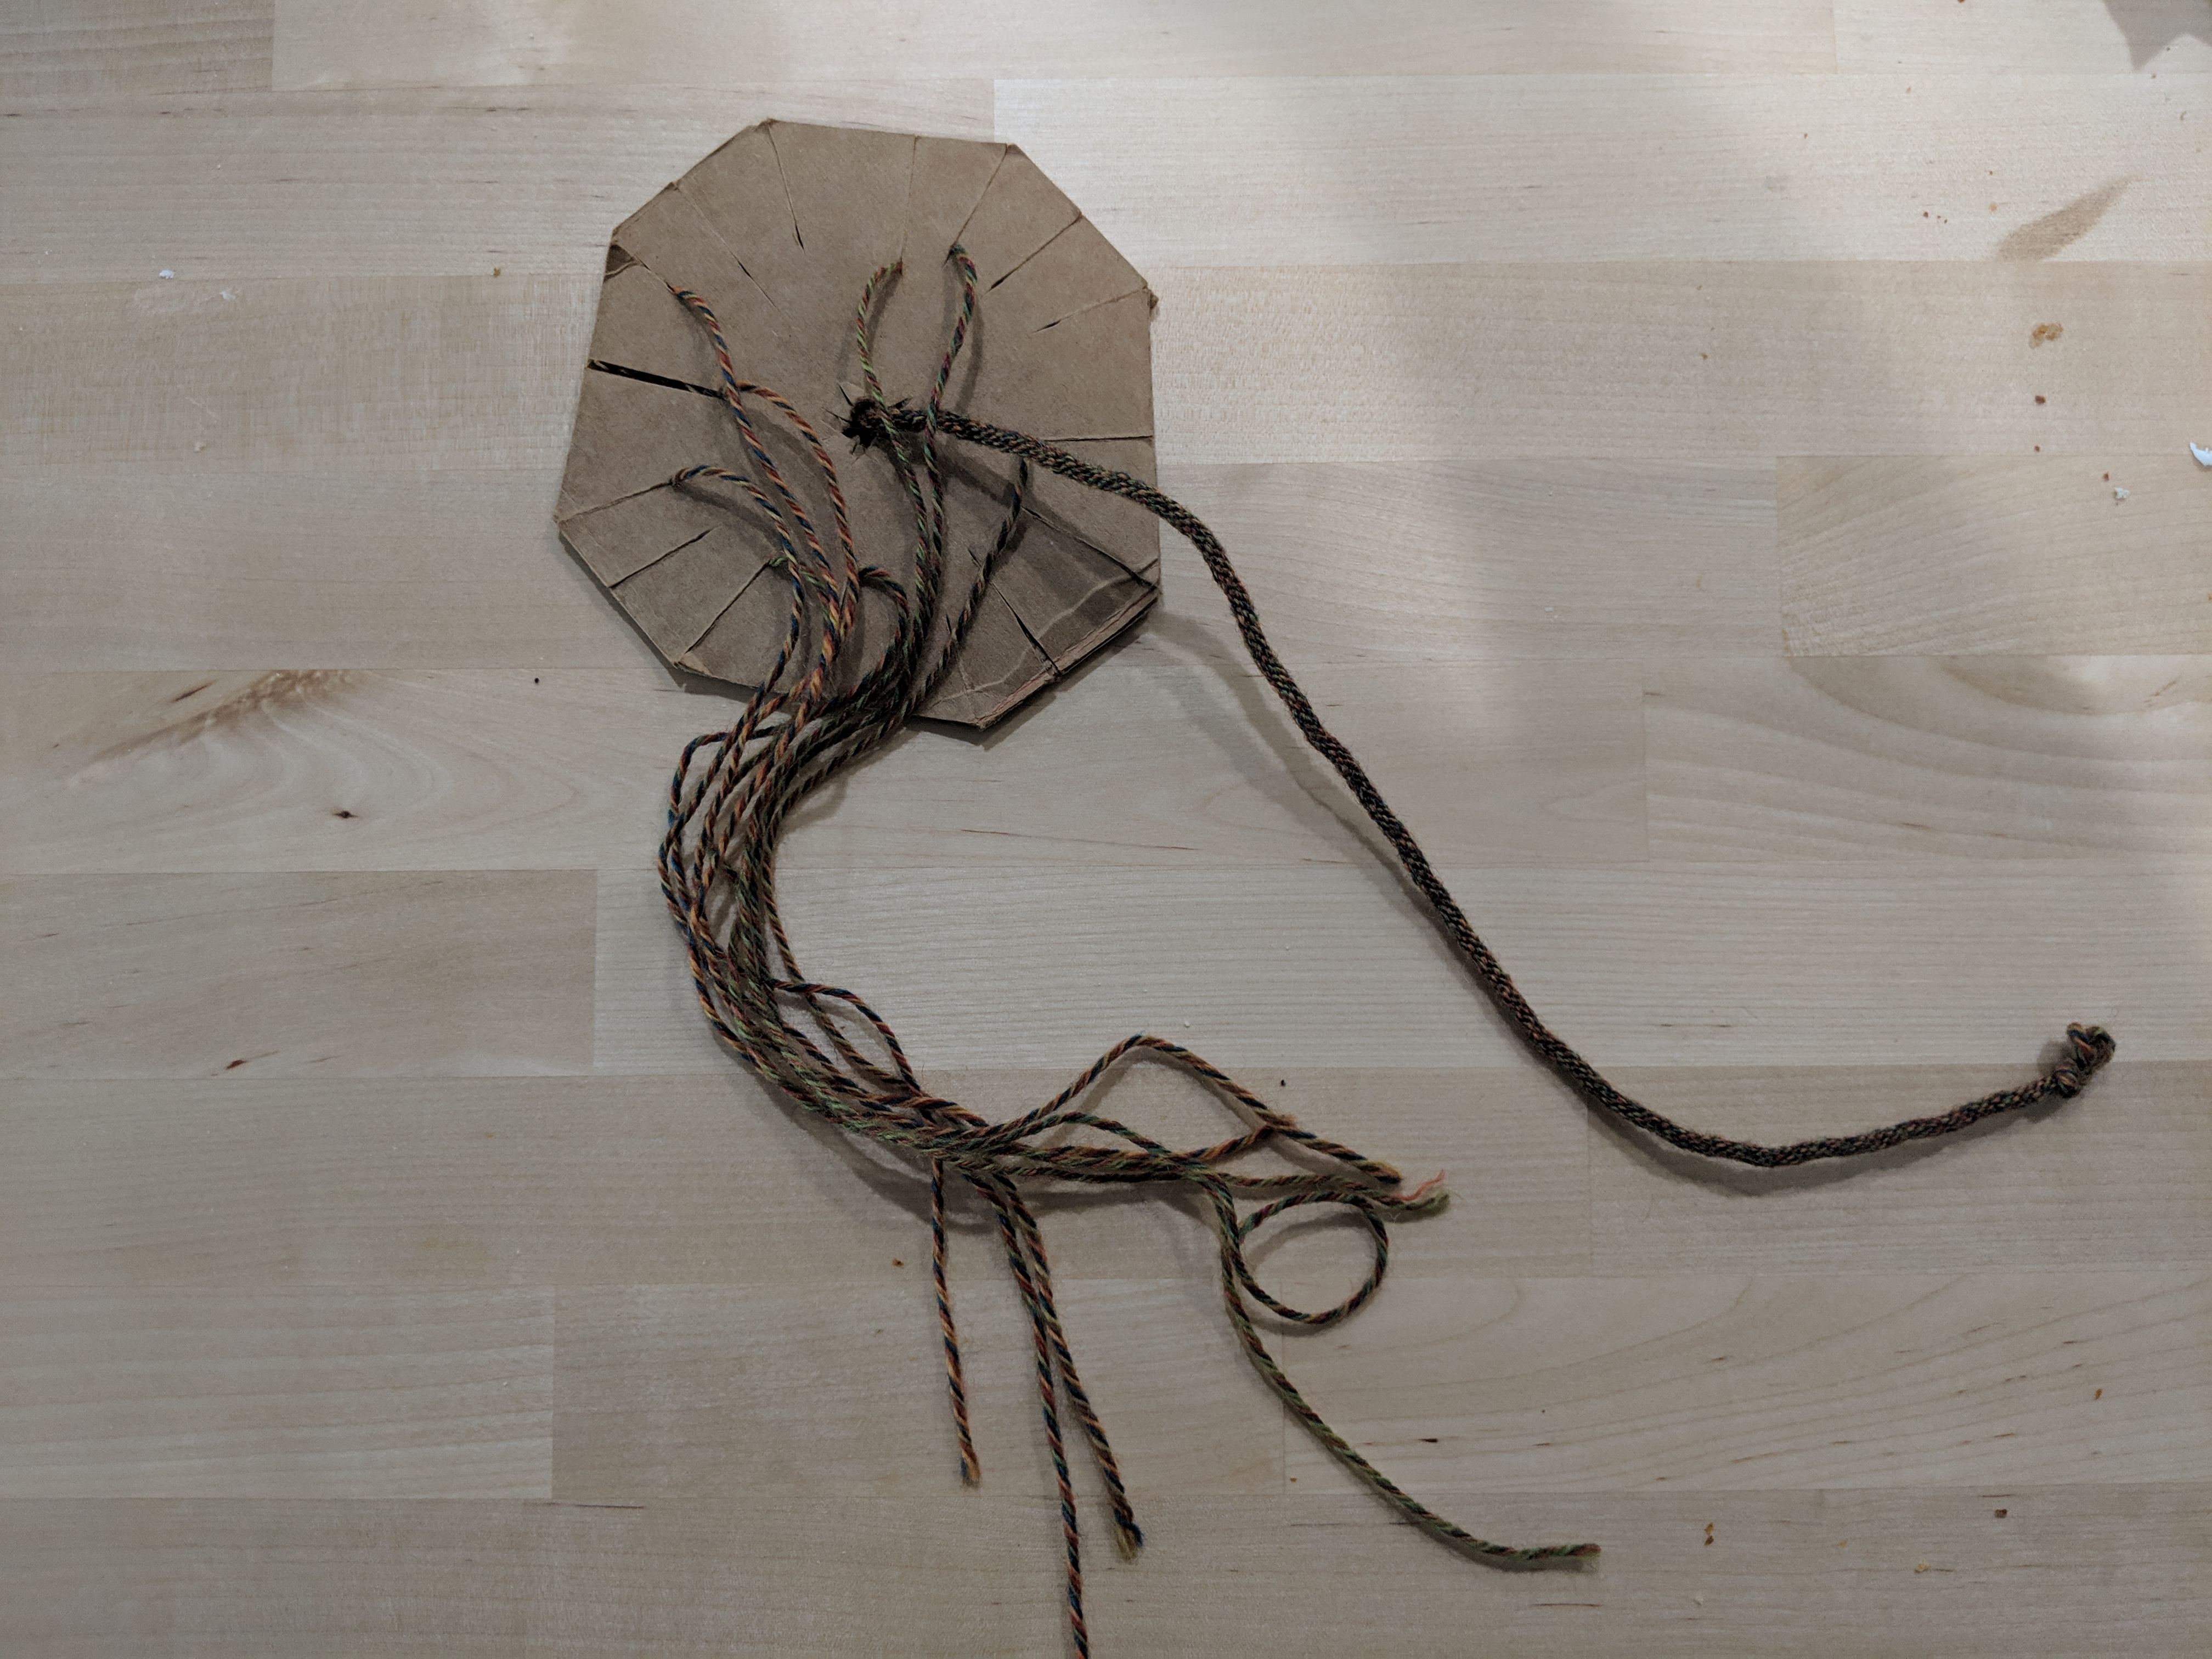
Here’s my current progress:

I asked in a Facebook group for more resources, and here are the things I’m going to try next:
- Buying a foam disk from a craft store (or Amazon…)
- Bobbins for the loose ends of the thread, instead of letting them hang and tangle. Some say clothespins, or a helpful commenter writes:
You can make them yourself by getting wooden bobbins from a craft store and adding some weight to them, use a plastic bobbin designed to manage loose threads for embroidery or almost anything that you can wind a thread onto and have it hold steady. If you use a bobbin, looping the thread over the bobbin end will hold the thread from unraveling until you are ready to unwind the next foot or so of thread on the bobbin.
- Buying appropriate thread. Same very helpful commenter writes:
http://yarn.com specifically look at things like their Valley Cotton, cotton/linen, 20/2 or 60/2 silk and their various bamboo & tencel fibers
- Find more patterns, on Pinterest or Google image searches. A different commenter writes:
The one thing about that is that you may find a pattern for laying out fibres but no example of a finished section. Personally I’m okay with the surprise element.
- Figuring out what to do with the cords! I’ve heard a couple suggestions to donate them to my barony/kingdom to be used to hang award regalia. A comment says:
Target about 2mm or so in cord width (as small as 1.5mm and as large as 3mm) as really fine cords or really thick cords won’t be as comfortable for the majority of folks.